Barcode scanner
The Barcode scanner is an extension for Dewesoft that allows you to scan information directly from barcodes and parse it to the Data header. Both 1D and 2D barcodes are supported, such as QR codes and data matrix codes, which can be scanned using either a handheld scanner or a camera.
NOTE: You can use handheld scanners without the plugin in which case they will simply perform “paste from clipboard” actions. The main advantage of the plugin is the ability to scan barcodes using a camera and parse their content into the data header.
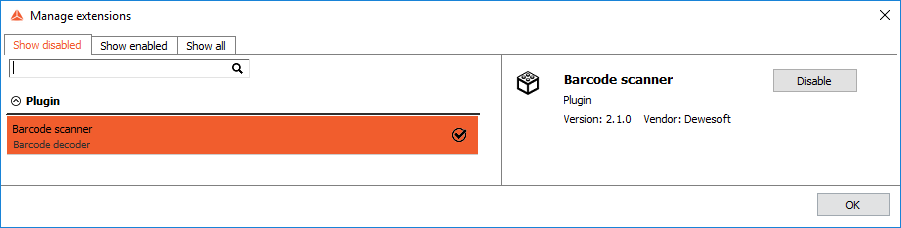
To enable the plugin go to the Options > Settings > Extensions and click on the plus button. A new window for managing extensions will appear. Go to the Show disabled tab, find the Barcode scanner plugin and enable it by clicking the Enable button.
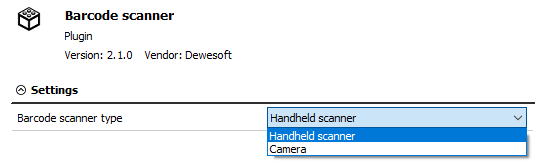
The Barcode scanner plugin can detect barcodes from two types of devices:
- Handheld scanner
- Camera
To change between the types go to Options > Settings > Extensions and click on the Barcode scanner plugin. On the right of the window the option for changing between the types will appear.
The Data headers to which you want to parse the information from the scanner should be defined before you start scanning the codes. The Data headers can be added and modified by clicking the Options > Settings > Data header. You can then view them and the parsed information by clicking More… > Data header.
Camera
When Camera is chosen as the input device, a camera has to be connected to the computer.
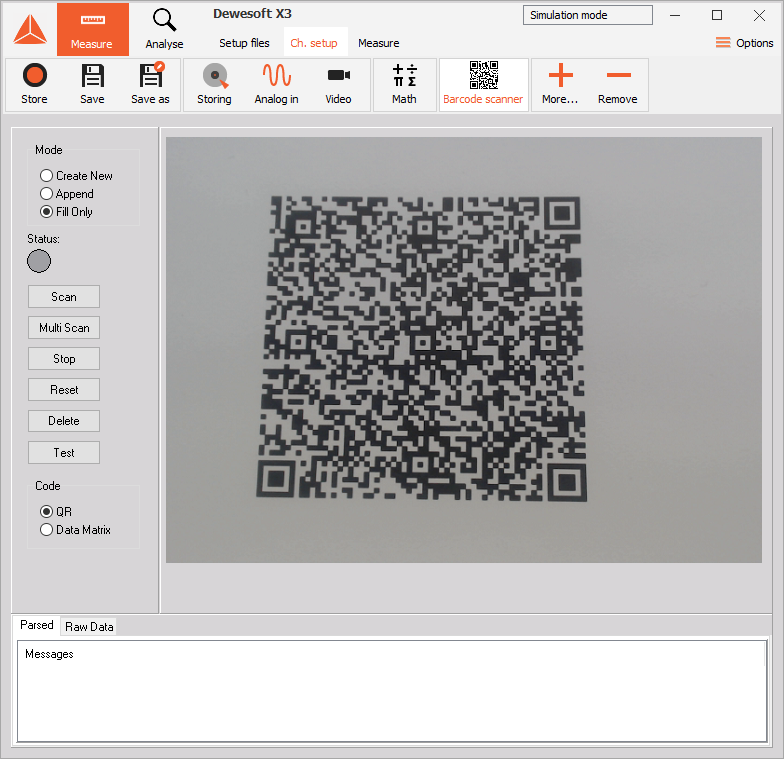
Mode
There are three different modes of parsing information scanned with a camera.
- Create New - Deletes all existing headers, allows adding new header elements and value filling.
- Append - Allows adding new header elements and value filling.
- Filling only - Allows only value filling.
Status
The status section of the setup shows you if the format of the text decoded in the code is correct.
- Green - valid QR code/Data Matrix.
- Red - invalid QR code/Data Matrix.
- Gray - no QR code/Data Matrix found.
Buttons
- Scan - Starts the scan, scanning will stop once the QR/Data Matrix (DM) code is found.
- Multi Scan - Starts the scan, scanning will continue until the Stop button is clicked or an error occurs. If you are in a Create new mode, the program will automatically switch to Append mode after the first QR code.
- Stop - Stops the scanning.
- Reset - Stops the scanning, resets internal states and starts again.
- Delete - Deletes all existing headers.
- Test - Program will try to parse the text written in the Raw data field, useful for testing the text format without an actual QR Code/Data Matrix.
Code
Choose the input type:
- QR Code - detects the QR Code and reads its text.
- Data Matrix - detects Data Matrix and reads its text.
Parsed and Raw data
- Parsed - Displays messages (green), warnings (orange) and errors (red).
- Messages - are raised on value filling
- Warnings - are raised when a new element of data header is successfully/unsuccessfully added or changed (for example Text box is changed from text type to float type).
- Errors - are raised if you want to add a new element or change it in the fill only mode and if the program could not parse the text from the QR Code/Data Matrix.
- Raw data used for testing text format (see Test button).
Handheld scanner
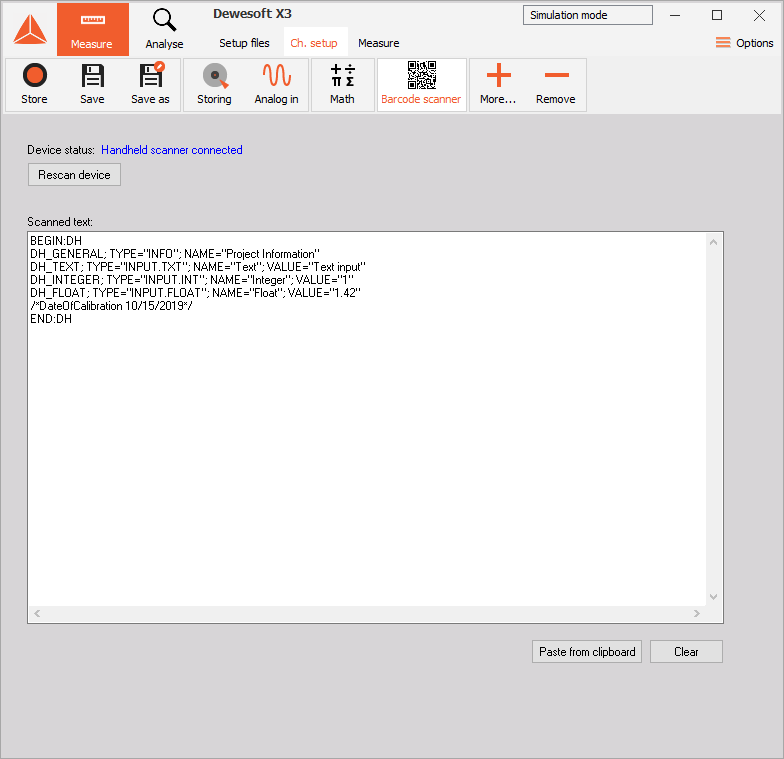
When the Handheld scanner option is chosen as the input device a Handheld scanner device has to be connected. If the device is not discovered and is connected then press the Rescan device button. After you scan the code and if the format of the text decoded in the barcode is correct then the information is automatically parsed to the data header. Scanning in the Handheld scanner mode only supports the Fill only mode of parsing to data headers.
Clipboard
You can also parse information to the data header by copying it from the clipboard and clicking on the Paste from clipboard button, or pressing “CTRL + V”.
Text format
- Every command must be written in a separate line.
- Text must start with either BEGIN:DH or BEGIN:VCARD and end with either END:DH or END:VCARD.
- Format for adding element or filling value is:
<Unique_ID>; TYPE="<Input Type>"; NAME="<GUI Name>"; VALUE="<VALUE>" <Input Type>can be:- Input field: INPUT.TXT, INPUT.INT, INPUT.FLOAT
- Info: INFO
- ComboBox: SEL
- Unique_ID must match the variable name defined in data headers.
Example:
An example of the text we want to parse to data header would look like this:
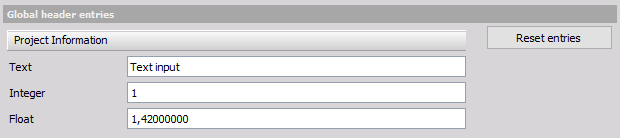
BEGIN:DH
DH_GENERAL; TYPE=”INFO”; NAME=”Project Information”
DH_TEXT; TYPE=”INPUT.TXT”; NAME=”Text”; VALUE=”Text input”
DH_INTEGER; TYPE=”INPUT.INT”; NAME=”Integer”; VALUE=”1”
DH_FLOAT; TYPE=”INPUT.FLOAT”; NAME=”Float”; VALUE=”1.42”
/*DateOfCalibration 10/15/2019*/
END:DH
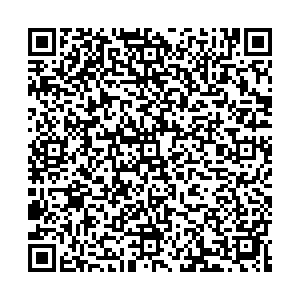
The generated QR Code from the above text:
The parsed text in the data headers would now look like this: