Measurement
This page will cover procedures regarding acquisition and storing in Dewesoft NET:
NET Menu
Click the NET icon to open the NET menu window:
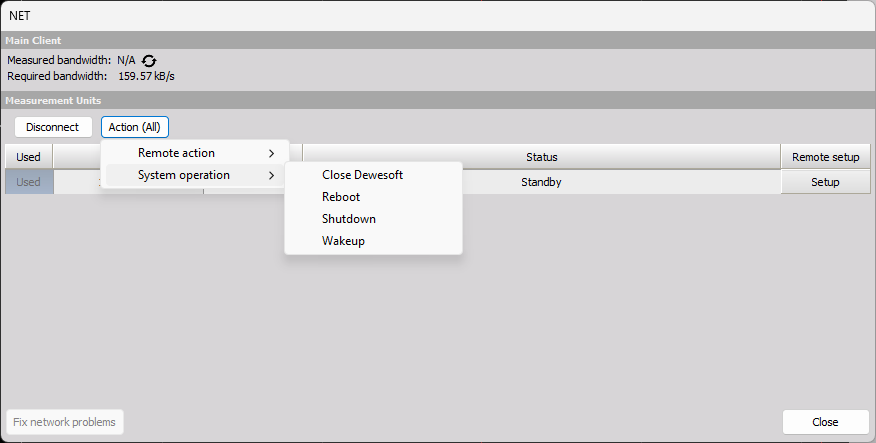
You have several options:
- Connect/Disconnect from measurement units - connects to all measurement units/releases the connection
- Close Dewesoft - closes the Dewesoft application on all measurement units
- Measured bandwidth - bandwidth/transfer speed between measurement units and this client
- Show status - displays window with current statuses of all measurement units
- Reboot measurement units - reboots the measurement unit computers (e.g. if they are frozen or have crashed)
- Shut down measurement units - requires ACPI power system on the measurement units
- Wake up measurement units - starts measurement units, requires Wake on LAN option enabled on the network card on the measurement units (step-by-step solution)
Remotely Controlling a Measurement Unit
We will be using the master client computer to remotely configure and control a measurement unit. The measurement unit is already connected to it. All steps are done on the client. As long as the measurement unit has a reliable network connection to the client, we can control it remotely, no matter the distance!
Local Setup
When using Dewesoft NET, the Ch. setup tab should look like this:
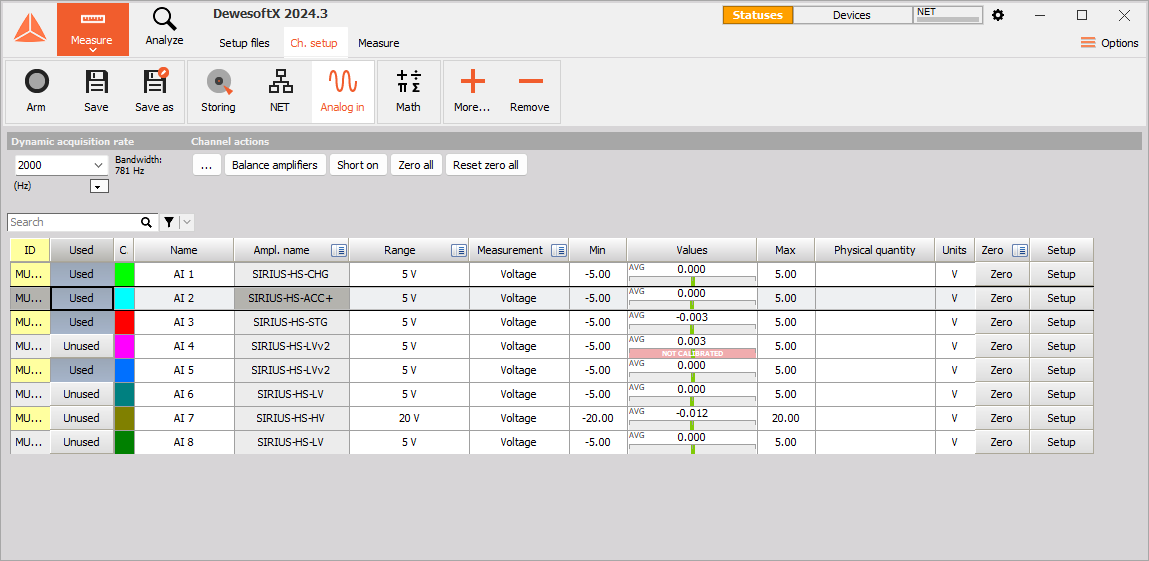
Note the buttons for Local and NET. The local computer is our master client, so it does not have any real measurement channels of its own. However, it still has Math functions. You can perform them in real time using channels that are transferred from the measurement units. You can even use channels from more than one measurement unit at the same time as long as they are synchronized!
Remote MU Setup
We will click on 10.2.173.76 (measurement unit’s IP address) so that we can set the measurement unit up remotely.
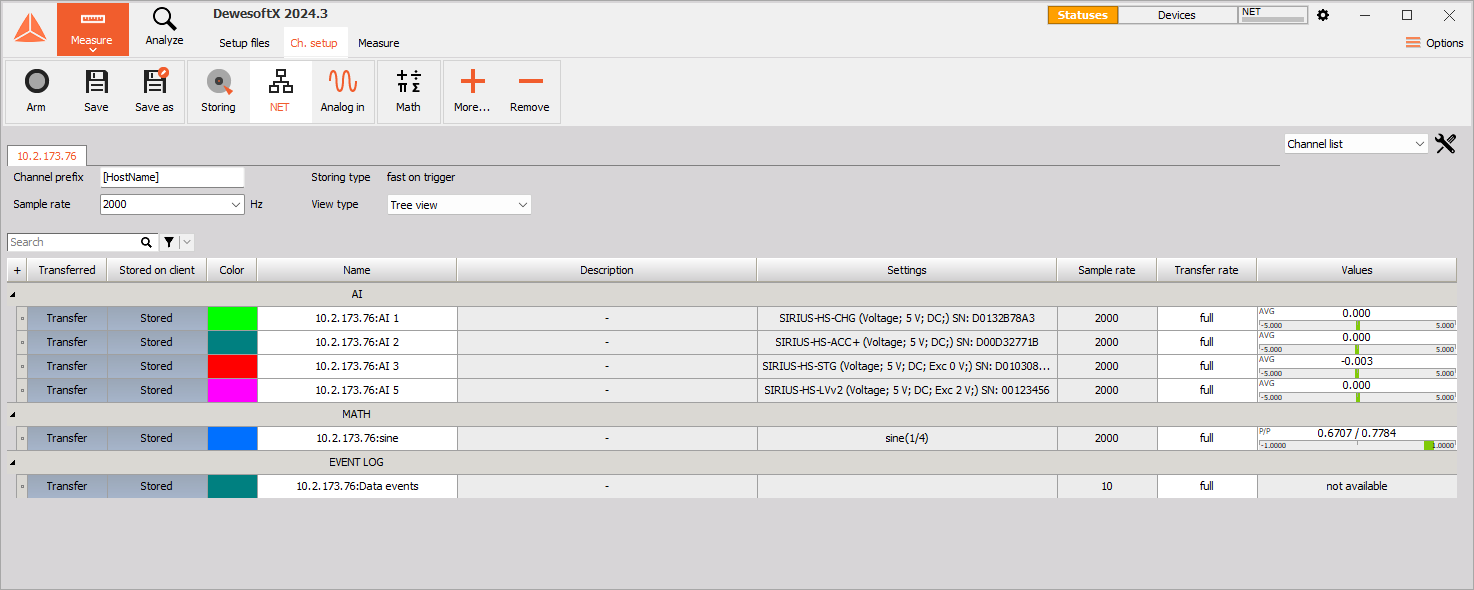
You can see that there are 4 canalog input (AI) channels set up to be transferred in real time to the client. They will also be stored locally on the measurement unit by default. It is highly recommended to not disable local storing on the MU.
Due to bandwidth limitations of any network, we recommend being prudent about transferring channels – keep the bandwidth in mind and only select the channels that you need to see on the client in order to monitor and control your measurement.
You can also set channels up as if you were working with a standalone unit. Activate channels wit the Used/Unused button, scale them, set the dynamic and reduced sample rates, choose a filename,…
Creating a Display on the Client
Before you start measurement/storing, you may want to set up a local display on the client. This is done identically as when using a single device. Please consult the Display design section of the manual for more information.
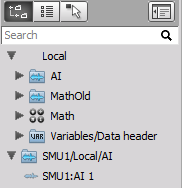
The Channels tab will now show which MUs to quickly tell which source each channel comes from.
All MUs must be synchronized in order to ensure:
- Truly synchronized data files from multiple MU’s
- Ability to display channels from more than one MU on the client
- Ability to create math channels on the client with channels from more than one MU
Display setup on the measurement unit
This step is optional - if you want to have a display screen on the measurement unit, you can create it, but you do not need to (e.g. if the MU is in a remote location). Select the MU and customize the display. As was the case for the client’s display, this is done identically as when using a single device. Please consult the Display design section of the manual for more information.
NOTE: It is important that the client computer’s display has a higher resolution than the measurement unit’s! Otherwise, you may run into trouble seeing some of the screen objects near the bottom when remotely controlling measurement units from the client.
Storing Data
With the client and measurement unit properly configured, we can now store data by clicking Store.

Transfer Stored Data to Client
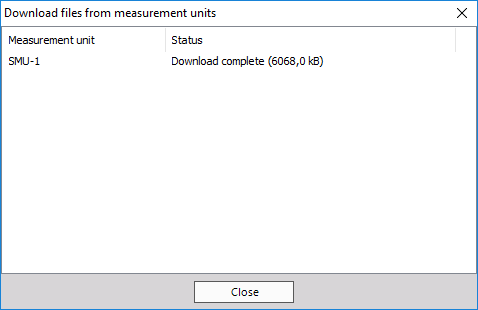
As soon as storing stops, the Transfer button will appear:

When you click it, the data file(s) from all measurement units that were used will be downloaded to the client. A window showing download progress will appear:
You can now analyze the data.