Historian client plugin
The plugin requires a valid Dewesoft license. To test the plugin, you can use an Evaluation license. For more information about licensing follow —> License.
Global Settings
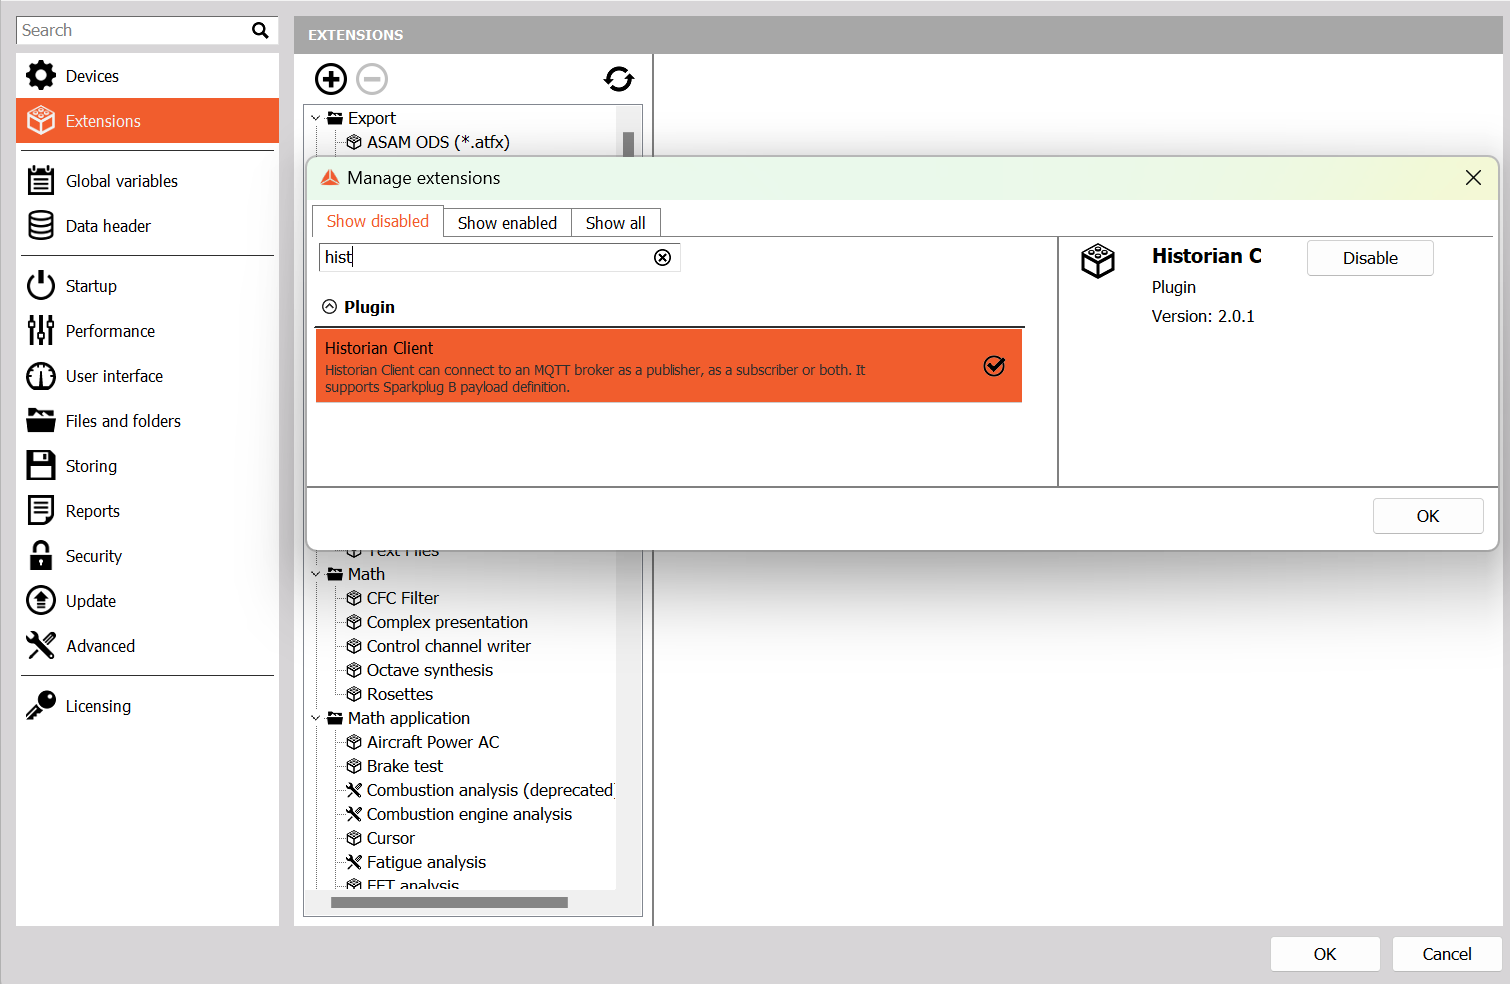
Under settings window go to the Extension option and click the plus sign. Then find the Historian Client plugin in the list and activate it as it is shown on the following picture.
 To enter the plugin settings you need to click the Historian Client plugin under the Plugin list, then in the right window the settings will open.
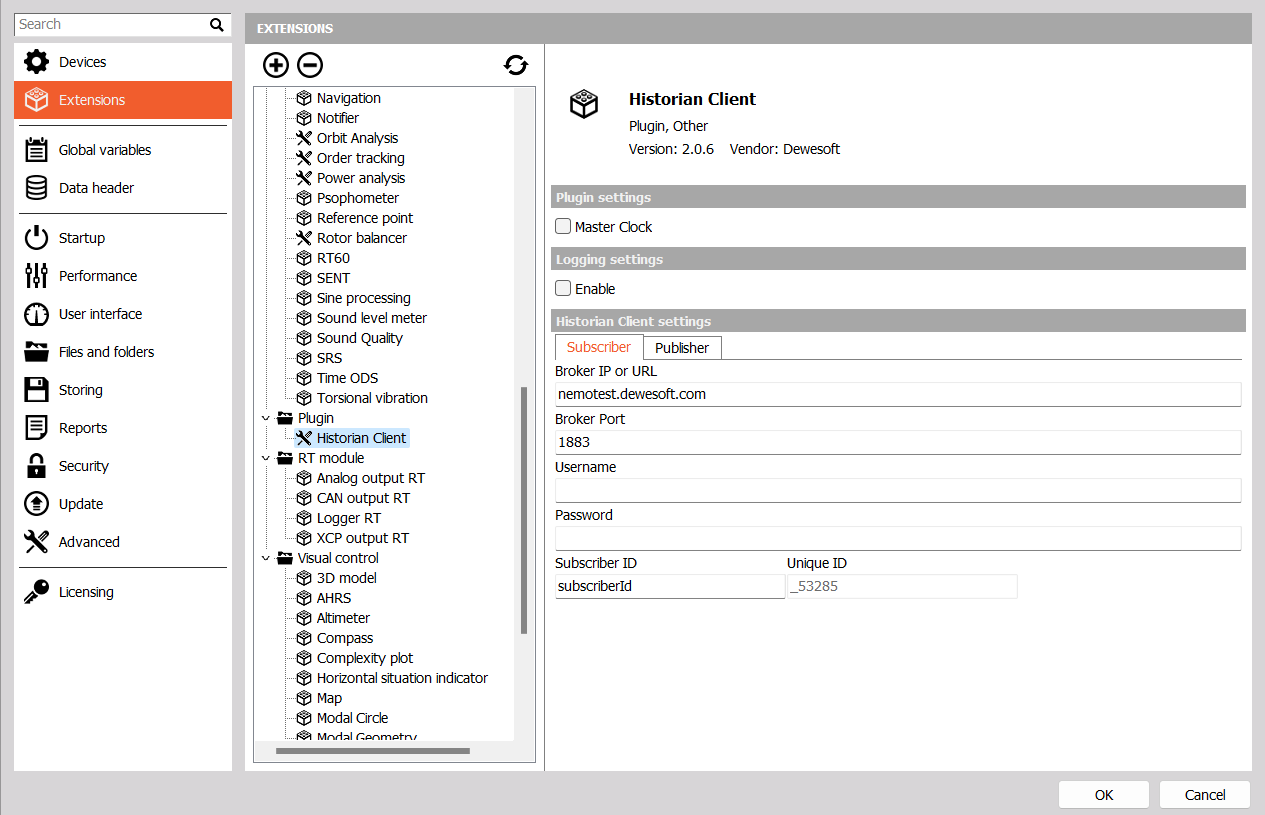 Subscriber tab in Settings screen configures the Historian Subscriber.
Master Clock: only used if the Subscriber is connected directly to a hardware device. Leave this option off for standard operation
IP: IP address or URL of the MQTT broker
Port: port on the broker to which the client connects
If the MQTT broker requires the Username and Password, they can be set in their respective text fields.
Subscriber ID must always be unique, otherwise clients are mixed up on the MQTT broker. The initial part is user-settable, while the second part is software-generated. Each time the plugin is enabled in Dewesoft, the Unique ID changes (for example, when creating a new project).
 Publisher tab in Settings screen configures the Historian Publisher.
- IP: IP address or URL of the MQTT broker
- Port: port on the broker to which the client connects
- If the MQTT broker requires the Username and Password, they can be set in their respective text fields.
- Publisher ID must always be unique, otherwise clients are mixed up on the MQTT broker. The initial part is user-settable, while the second part is software-generated.
- It is possible to omit the Unique ID in MQTT metric name, which means that Unique ID will not be seen in the database. In such case it is especially important that the Publisher IDs are unique for each Publisher.
- It is also possible to omit the channel index in the MQTT metric name. In such case it is important that all published channels have unique names, otherwise they will get mixed up in the database.
Note: to make the Historian client successfully connect to the broker, you will need to set up Dewesoft Historian on the server by and running the Docker compose package - see the Dewesoft Historian Installation manual for more information.
Historian Client setup
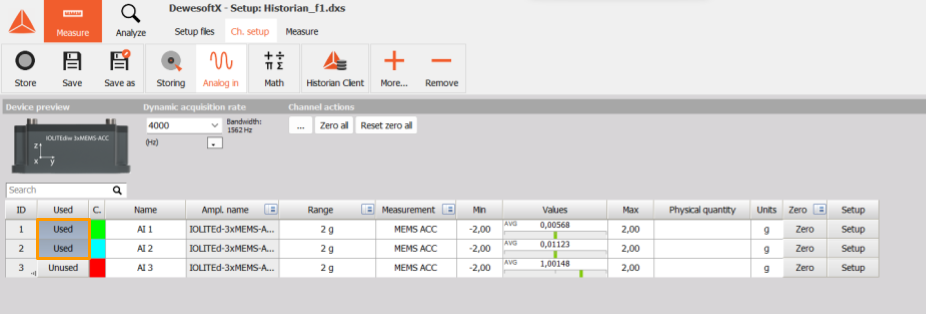
Before entering the Historian client, some channels need to be Used in order to show up under Historian Client. In the example below we have an IOLITEi-3xMEMS-ACC module connected. We selected AI 1 and AI 2.
 Open the Historian client and under the Publisher Tab, the AI 1 and AI 2 will be visible. Select them to be published.
 To start publishing, go to measure mode. The data will be sent to the broker on the IP and port specified in the settings.
If we go again into the Historian client setup, the channels we published should now also be seen under the Subscriber tab as below:
To start publishing, go to measure mode. The data will be sent to the broker on the IP and port specified in the settings.
If we go again into the Historian client setup, the channels we published should now also be seen under the Subscriber tab as below:
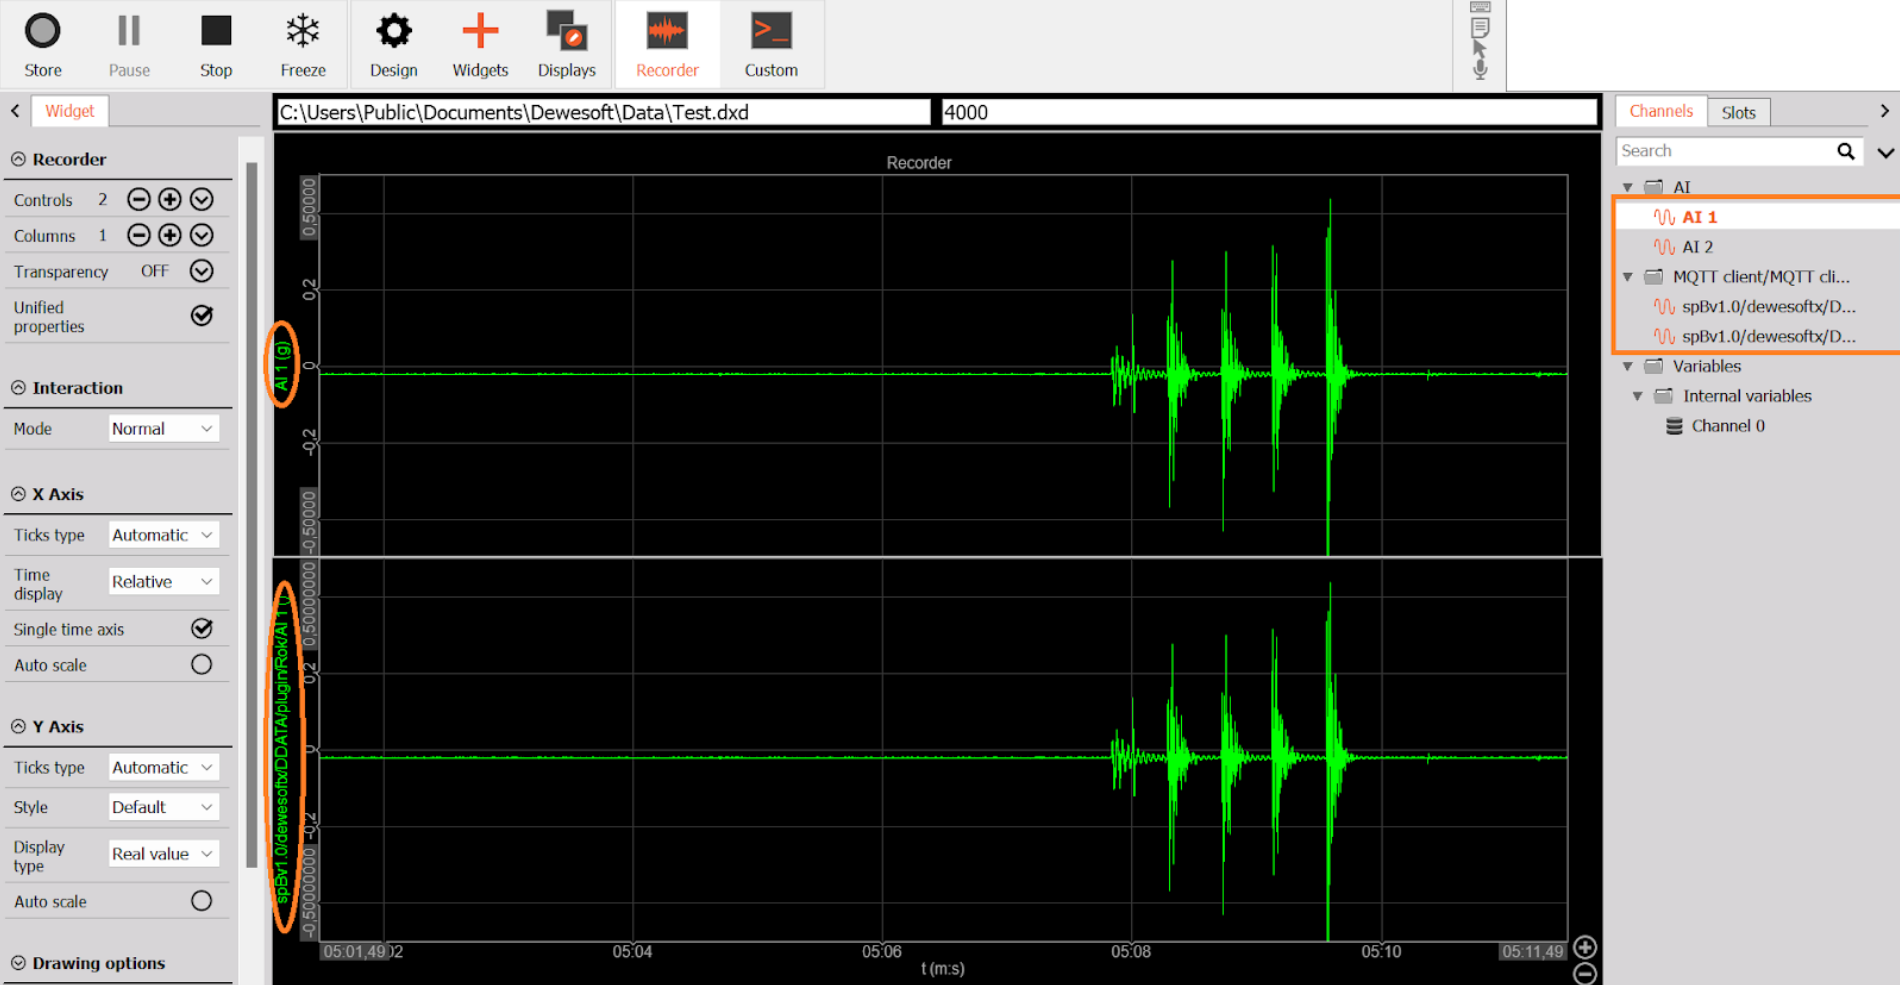
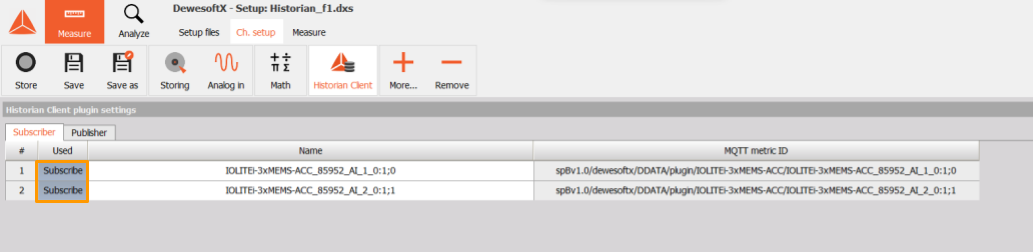 Select them to be Used and go to Measure mode. Published channels should now be available next to the “original” AI 1 and AI 2 analog input channels.
 Dewesoft Historian consists of several components running on the same system using Docker, a set of platform as a service products that use OS-level virtualization to deliver software in packages called containers. Each Historian software element is stored in a separate container.
A typical installation hosts Docker, with all the Historian software elements, on the same system, normally on a Linux server. But they could also all run on a measurement unit, or each of them on different systems.
In general every component of Dewesoft Historian can reside on its own system/server/PC if there are sufficient connections available to the other components: TCP/IP access, static IP and appropriate ports open on the router. For more information about the implementation of Historian please use the Dewesoft Historian Manual.