Manually Start / Stop Recording
With Dewesoft you can activate/deactivate recording in three ways:
- Manually - using the Store, Pause, Resume and Stop buttons on the screen; with Event markers, which are used to mark areas of interest in the data record for later review
- Triggered - by setting any channel(s) to start and stop the recording according to levels
- Automatically- start storing automatically
Drawing options Manually
Start data recording
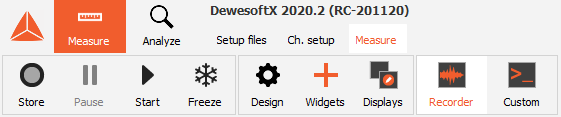
It is as simple as pressing the Store button on the main toolbar or press F5 on the keyboard.


On the right top part of this screen, you will see the currently available space on your hard disk drive.
As you can see in the example screen, the hard disk is nearly full - better free some hard disk memory before you start the acquisition or select another file location.
If a file already exists of the same name as the one that you are trying to record, the following Warning window will appear (the Data header windows appear if on the Global header design window Ask for header on start option is selected:
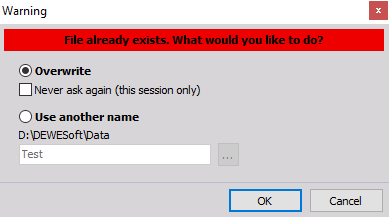
On this window you can:
- overwrite the existing file with selecting Overwrite option; there is an additional option - Never ask again to always override the file without asking; so this form will not be shown anymore until Dewesoft is restarted
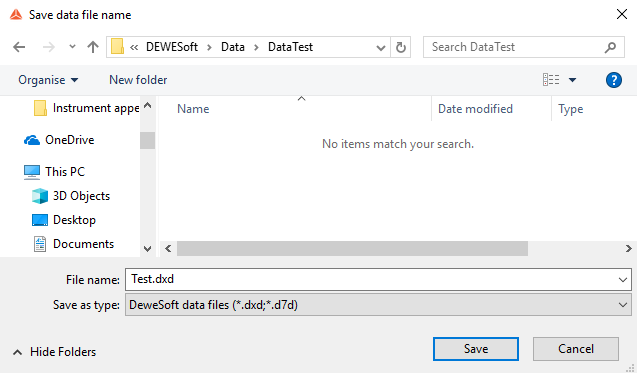
- change the name here with selecting Use another name option and enters new name or selecting the ” … ” button to call standard Save data file name window to select new name).

- Cancel recording altogether with selecting Cancel button. Make your choice and then hit OK to begin recording. The top of the screen will show you the current filename, how large the file is at all times, and other important parameters. The Store button itself changes color and is labeled with Pause to indicate that recording is activated:
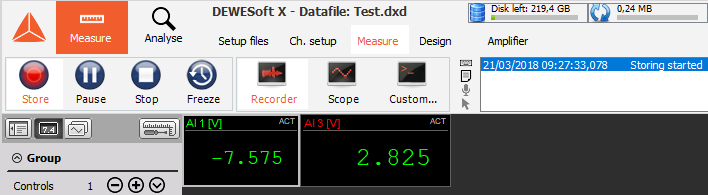
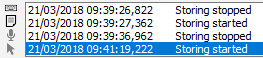
If data was already shown on the screen it is cleared and a red vertical line indicates where recording began. In addition, the scrolling EVENT box at the top-right of the screen tells us that “storing started at [date] [time]”. The Store button on the main toolbar now changes to Pause button.
- Pause recording - the Pause function gives you the possibility to stop data storage for some time.

After pause the Resume button appears and when pressed storing is resumed within the same data file.

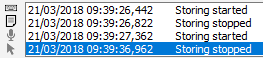
- Stop recoring - To stop recording click the Stop button or press F7 on the keyboard.

Marking your data with events
Conventional chart recorders have event markers, which are used to mark areas of interest in the data for later review. Dewesoft builds on these capabilities by providing three ways of marking your data:
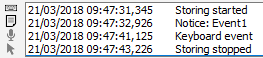
- Keyboard events - Press the spacebar or the icon to mark an area of interest.

A thin gray vertical line will appear on the data at the location, marked with a ” K ” symbol, and a notice is added to the scrolling EVENT box.

- Notice events - Press < n > key on your keyboard or the icon and then type some text in.

The text input dialog box will appear:
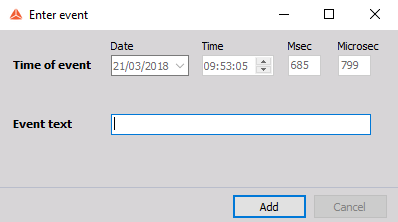
When you press the Enter key, the text is added to the record at that point. You can also click the OK icon on the screen to enter a notice event. The event is also marked with thin gray vertical line and an ” N ” icon on data at location when we started entering the event.

- Voice events - If you have a DirectX sound card installed, and it has been set up under the General Setup section of the System menu, you can use a microphone to make spoken notices to your recorded data. Simply press and hold down the < v > key on your keyboard, or click the microphone icon and then speak into the microphone.

Release the key when done. These voice events can be replayed through your speakers later on, and are a great way to add a rich layer of information to your data. This event is marked with the ” V ” icon and a thin vertical gray line.

Events can be added, edited or deleted also in Analyse mode -> see -> User Guide -> Working with events.
Internal markers
Similar to the user created markers, Dewesoft itself have two markers:
- the begin of recording marked with the ” B ” icon and a thin vertical red line (information about this is also automatically noted as event - see above).

- the end of recording marked with the ” E ” icon and a thin vertical red line (information about this is also automatically noted as event - see above).

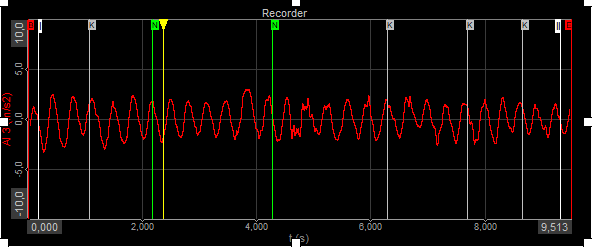
Example of several marked events in on stored signal:
Triggered
You can trigger from your signals to start and stop recording.
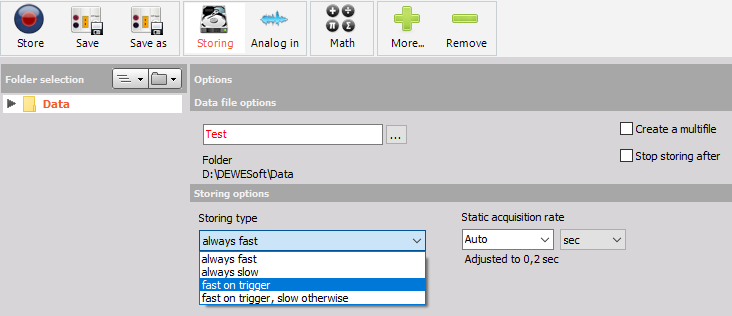
You can select two different types of trigger storing from the storing options drop-down list on the Dewesoft Setup screen:
- fast on trigger
- fast on trigger, slow otherwise
When we select one from trigger selection, a tab labeled Trigger will appear and when we select it, lower part of screen will automatically open channel list for triggers set up. In trigger setup we define Start storing condition and we define pre-time and post time. Pre-time is the time that the data will be stored before the trigger occurred while the post time is the time after the event.
For detailed information about Triggers setup see -> Trigger Condition setup.
After we have set our trigger criteria (manually or also achieve automatically) we can store data.
When we press Store button, this button changes the name to Arm button and we see additional Trig button, which tells us that we are using triggered storing.

We can also press this button to issue manual trigger to trigger even without an event.

If the post time is not defined, data will be stored until a manual Stop button is pressed or Stop storing condition occurs.
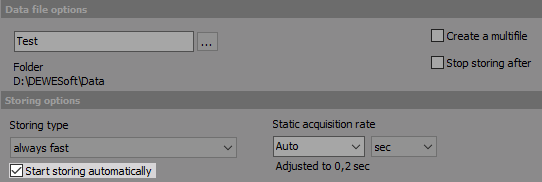
Automatically
If the Start storage automatically check-box in the main Dewesoft Setup screen is selected, the data storage will be automatically started as soon as you change to any online display (scope, recorder,… ).
Just press the Stop button or F7 on the keyboard to stop the storage. This function is independent from the storing type (fast, reduced, triggered,…).
This function can be used together with the auto-load function of Dewesoft for highest automation.
For information about auto-start of the measurement see -> System Settings -> Storing.