Storing
To set up how measured data will be stored, go to Measure - Ch. setup - Storing. This module is added by default to the setup.
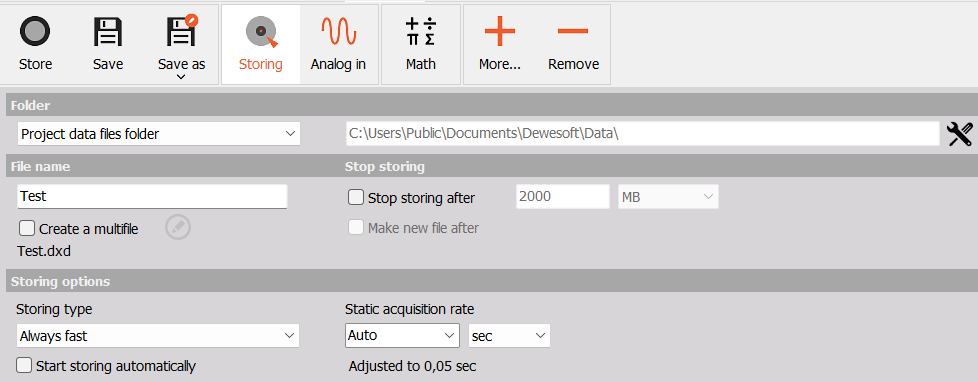
The following options are available:
- Folder - Use the default folder or pick a custom one. Change the default folder by clicking the Tools button next to the path or in Settings - Files and Folders.
- File name - Name the file.
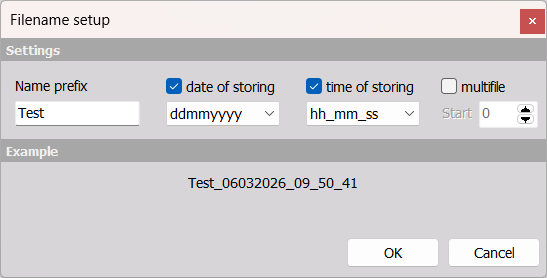
- Create a multifile - When enabled, press the pen next to this option to open the Multifile filename setup and customize how multifiles will be named.
- Stop storing - Storing stops or a new file is made when we reach a file size, elapsed time, or a number of triggers.
- Storing options - set the type of storing and static acquisition rate
- Storing type
- always fast
- always slow
- fast on trigger
- fast on trigger, slow otherwise
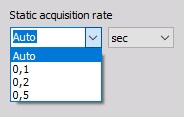
- Static acquisition rate (Static/Reduced Rate)
- Automatic
- Predefined values
- Custom value
- Storing type
NOTE: Refer to Start/Stop Storing for details on different methods of starting and stopping acquisition.
A special Dewesoft Measure procedure while recording data is Freeze mode, in which most displays are stopped - frozen with the latest data.
Storing Types
You can select four different types of storing from the dropdown list:

- Always fast - The data will be stored at the selected Dynamic acquisition rate.
- Always slow - Stores data at intervals, set with the Static/Reduced rate.

Storing can depend on trigger events, i.e. it will start/stop when a signal meets a condition. Please refer to Trigger setup for more information on setting up triggers.
- Fast on trigger - Data will be stored only when the trigger condition is true, at the full acquisition rate.
- Fast on trigger, slow otherwise - Storing will be at full speed when the trigger condition is true, and at a reduced rate when it is not.
NOTE: When storing in multifiles and using Fast on trigger, the first data file may be shorter than expected. This is because the Arm button has to be pressed and the trigger event has to be true.
Static/Reduced Rate
When storing is set to slow, Dewesoft will acquire data at full speed and calculate the minimum, maximum, average, and RMS values. However, these values will only be stored at time intervals set by the Static acquisition rate. This means that less disk space will be used for storing.
For example, if you set the Static acquisition rate to 0,1 sec, the reduced data will be stored every 0,1 seconds.
If you select Auto, the static rate will be adapted automatically to the dynamic acquisition rate.
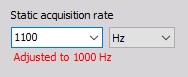
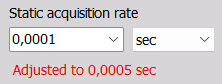
You can also enter a Custom value, but Dewesoft may need to adjust it to the closest acceptable value. To do so click on the dropdown menu box and type the value.
Example
The dynamic rate is 1000 Hz, and the static rate is 5 seconds. We set the storing type to always slow. Every 5 seconds, Dewesoft will store a set of Min/Max/Ave/RMS values.
This does not mean that 5000 samples between stored values are ignored. Dewesoft uses them to derive the stored values, i.e. each set of stored values will be based on 5000 samples.
Change Static Acquisition Rate Units
You can change the Static acquisition rate units via the dropdown menu to the right of the value:
- Hz
- seconds
- minutes
- samples
No matter the units, Dewesoft will still automatically adjust the rate if you select Auto or enter a Custom value, if needed.