Video module section
Dewesoft Video Acquisition module offers the possibility to acquire video signals together with other sources. A wide range of cameras is supported.
- Required hardware - Any AD card, DirectX webcam, GigE cameras, Photron FastCAM cameras, Phantom cameras
- Setup sample rate - At least 1 kHz
Fore information on how to set up your camera visit:
For additional help with Video Acquisition visit Dewesoft PRO training -> Dewesoft Web page -> PRO Training.
For additional Dewesoft manuals visit -> Dewesoft Webpage -> Support -> Downloads.
When you select a Video tab on Dewesoft Setup screen, on lower part of screen Video (camera) settings will appear:
- Store options - select mode to store your video data
- Frame rate - select frame rate (speed of the incoming frames)
- List of cameras - with information about camera Slot number, Name, Setting column and primary Set column with Setup button to call camera setup window Video store Options:

List of connected cameras:

After Camera setup is done press the Unused button - it will change now to Used - to switch on the acquisition.
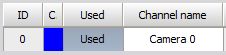
Camera list
First let‘s look at the columns that are shown in the camera list, and describe what each is for:
Camera name - Manufacturers name of the camera connected to the system. Camera status - Displays the status of camera and the used frame rate.
For information about Channel grid see -> Setup -> Channel grid.
Camera setup
Press the Setup button of the camera on the list of connected cameras you want to change and the Camera [type] setup window will open. This window consists of three main part:
- Basics settings - Just click into the Camera name field and you can enter the new camera name as usual text. Navigation keys are the same as in other Windows application. You can also enter this text on the Video setup screen.
- Preview - Preview of the captured picture.
- Cameras settings - Depend on used camera (HW) - see below. It can contain: Mode setting, Frame cut settings, Compression and Resolution setting, Picture setup settings…
Camera setup:
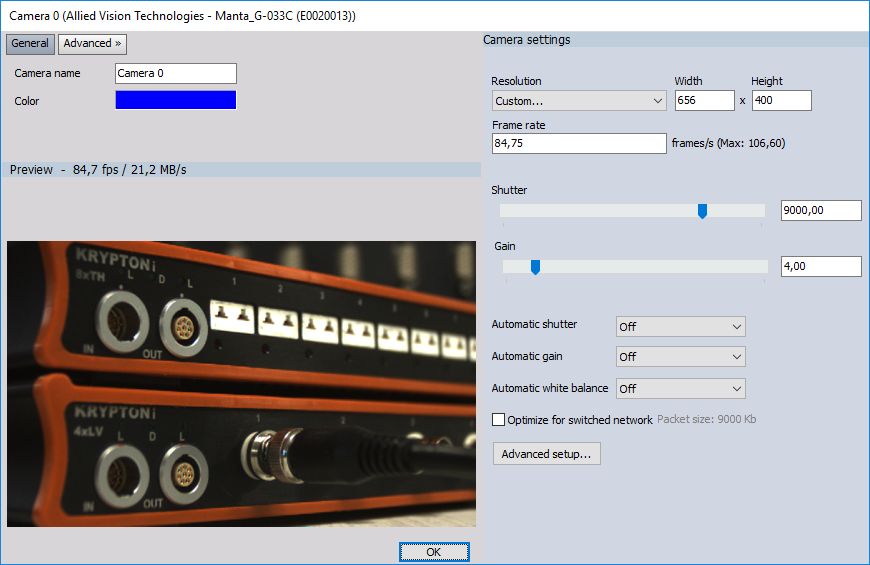
Mode - to set the Frame rate of fps, input desired value and confirm with keyboard key Enter.
Frame cut - when we select higher frame rate, the resolution can’t be 640x480 (VGA), but it is reduced (e.g. by 200 fps is reduced to 640x242); with selecting Horizontal, Proportional or Custom, we can choose how the camera cuts pictures. The only way to increase the frame rate is to reduce the height of the picture (reducing the width will not increase maximum frame rate).
Picture setup - Shutter speed depends on the selected frame rate (e.g. can’t be longer than 5 ms to be able to acquire 200 fps):
- lower shutter speeds will reduce the smearing of picture with fast movements, but will also reduce the brightness of the picture, therefore we will need either a strong light or we will need to increase the Brightness and Gain (on the other hand this will increase the noise on the picture and will reduce the picture quality).
Automatic shutter
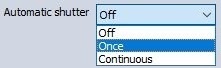
Automatic shutter can be set to
- Off(manual),
- Once (automatic adjustment of the shutter to current picture),
- Continuous (continuous adjustment of the shutter)
Automatic Gain
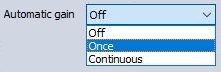
Automatic gain can be set to
- Off (manual),
- Once (automatic adjustment of gain to current picture),
- Continuous (continuous adjustment of gain)
Auto white balance
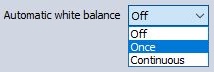
- Off (disabled)
- Once sets the color balance of the picture. This function assumes that the color average of the picture is white, therefore we should select this option withholding the white piece of paper in front of the camera for the best effect.
- Continuous ( continuous adjustment of WB)
The settings of the web and handy cam depend on the capabilities of the camera. There is a huge difference between one webcam to another in terms of speed, picture quality and available functions. Some cameras have automatic shutter and automatic gain, there are few even with automatic focus.
Some cameras have different compression types like YUV or I420. This means that each pixel will not have 24 bits of data (8 bits of data per color), but less. In short, using such modes will result in smaller picture sizes and will, in the end, reduce the data file size, but the colors might not be as perfect as with RGB (uncompressed). However, the human eye is much more sensitive to scales of gray than to shades of colors. These compression algorithms use exactly this fact, therefore we might not even see any difference.
Characteristics of Web and handy cams changes and from themes of their settings so often that it doesn’t make sense to write any camera brand in the manual. So, it is worth asking what is the latest and greatest. We are listing some typical settings.
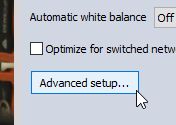
- Direct setup - Depending on the camera and it’s capabilities you can change settings like: Compression, Resolution and Frame rate. When Advanced setup is selected you can adjust cameras Properties. This SW is created by the camera producer.
- Picture setup - Whit sliders you can change Exposure, Brightness, Contrast, Hue and Saturation or check Auto for automatic setting. With Default button, we call back default camera picture settings. The cameras usually offer Custom settings, which will show in the cameras Properties window all the special functions of the specific cameras like flipping or rotation the picture.
After you have done your settings press OK to leave the camera setup. Now you have to set the desired cameras active for video data acquisition. Press the Unused button - it will change now to Used - to switch on the acquisition:
Store options
Dewesoft offers three different ways - Storing strategies to store your video data. Select option from the drop-down list:
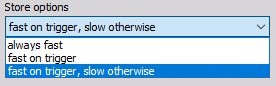
- Always fast - the data will be continuously stored all the time to the file with the selected full image acquisition rate - full speed.
If our data consists of events which can be captured, we can choose to store with two options for triggers. The trigger event can be defined in the software and then Dewesoft will wait for this event and store only the portion of interest.
Fast on trigger - the video data will only be stored with the full image acquisition rate when trigger condition is true
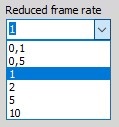
Fast on trigger, slow otherwise - to be able to acquire data with two speeds: stores data with a reduced image acquisition rate until the trigger condition became true - after then full speed is active. When you select this option new select field for Reduced frame rate will appear. Simply select the value from the drop-down list.
Example: if we select 0.1 seconds, this means that the video picture will be stored every 0.1 seconds
To set-up system triggers go to Dewesoft Storing tab.
For detailed information about set up trigger see Storing.