Working with events
Events
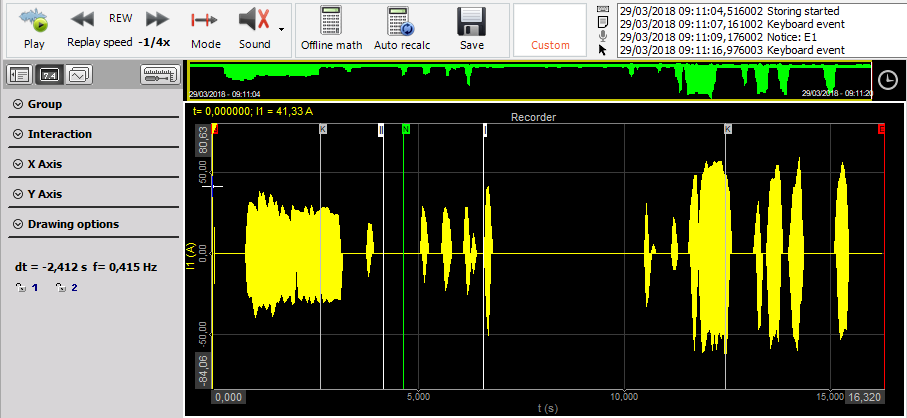
You can also see all your events - keyboard, notice, and voice types - on the event list at the top right, directly below the replay control buttons.
Select any event either by clicking on its white or gray vertical line on any recorder graph, or by scrolling through the EVENT selector at the top right of the screen. This is a scrolling list that shows:
- when data recording began - indicated by a vertical red line on the graph with a ” B ” (beginning) at the top, and each type of event, listed in chronological order, and marked with the exact time that they occurred
- the end of the recording is also marked with a vertical red line and an ” E ” (end) at the top
if you click on a voice event, it will replay using the speakers in your computer (assuming that you have this DirectX sound recording/replay capability). Also you need to enable the Voice channel in the User interface/Sound settings.
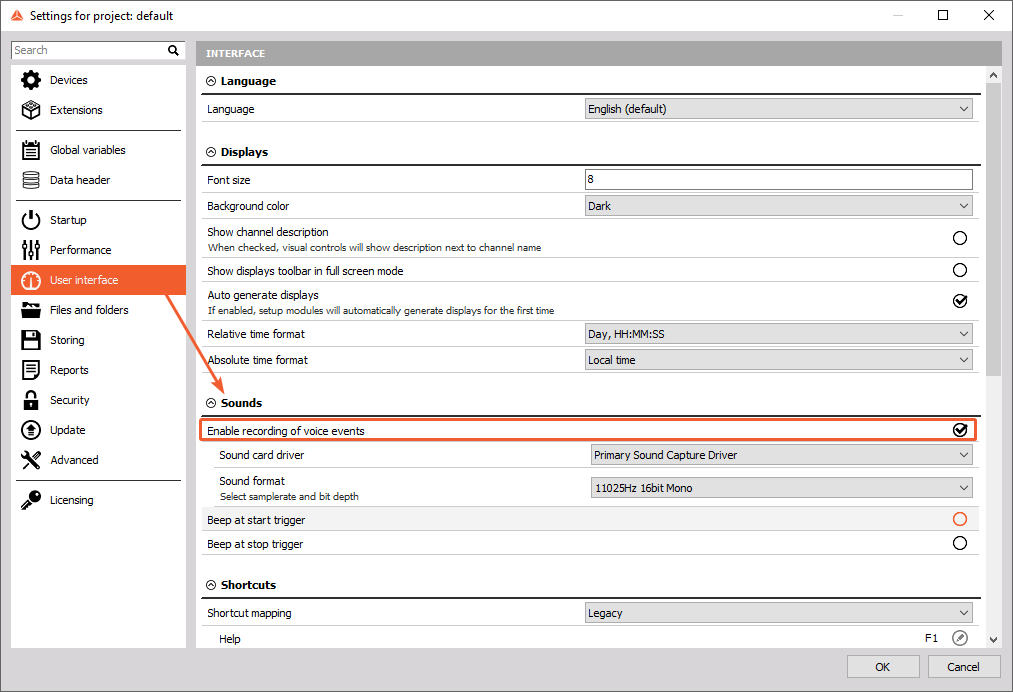
if you click on any notice event, it will show in the EVENT section, and just by hovering the mouse over the gray vertical line, the text that you typed in at the time of recording
- keyboard events show the exact time that they occurred
For information about marking recording data with events see -> User Guide -> Manually Start / Stop Recording.
Manage events
As mentioned before, all events are displayed in the recorder.
To add an event just clicks on the notice icon or press the shortcut key, for example

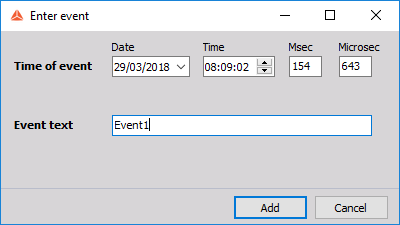
Time of event fields are already filled, enter Event text and with press Add button accept the new event.
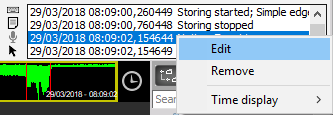
To change previous entered notice right-click on this notice in the list, from displayed menu choose Edit and Enter event window will pop up. In this window now Add change to Update button, with which we accept changes to carry out in Event text field.
To delete notice select Remove from displayed menu.
Enter as many events as you need; the types Keyboard event, Notice event and Voice event can be mixed.
After all your new events are defined, select Store settings and events from the Data main menu. All events will now be stored into the already open data file.
NOTE: This function stores also the current display settings into the file!
If you have changed anything in your display appearance, it will now be stored also.
Click again on the Analyse button and have a look on the file explorer. It shows now not any older software versions for this file, it has changed to the current version. So we also did a file version update!
When you select the Events tab, you see the entries for all old and new events:
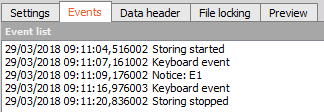
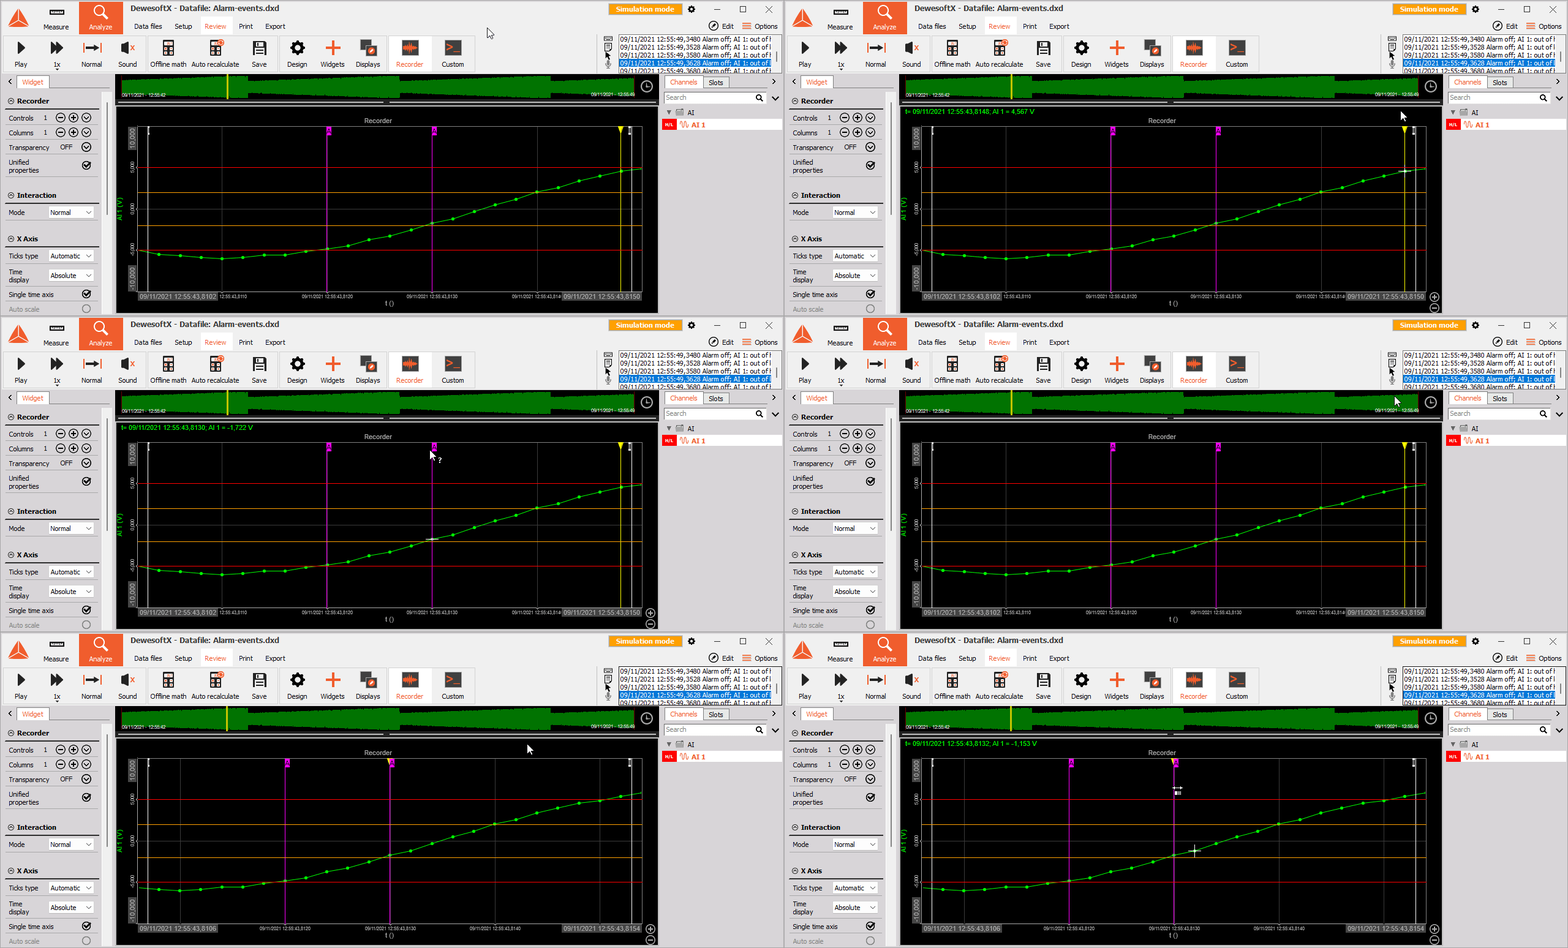
Align yellow cursor with the event in the event list
When double clicking on the event the yellow cursor will be positioned/aligned to that event.
