Add Extensions and Plugins
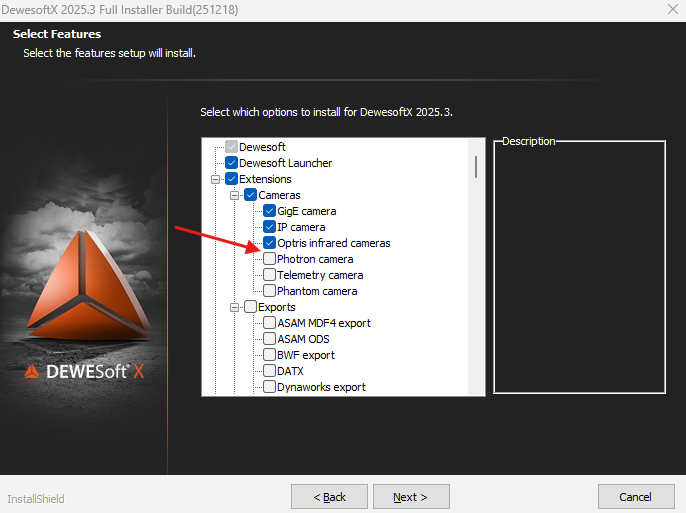
All Dewesoft extensions are now automatically included in the standard DewesoftX installer. During the initial installation, you can select which extensions you want to include in your setup.
To modify your selection at any time, go to Options - Add or remove extensions.
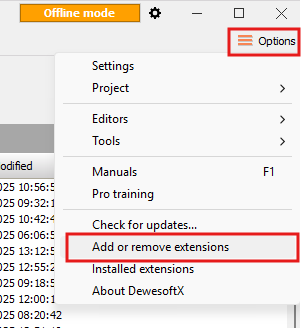
This will launch Dewesoft Installer and you will be able to modify your current installation by checking or unchecking specific extensions.
Legacy Plugins
Older versions of plugins or specific legacy tools that are not part of the standard installer are available in our Google Drive repository.
Once you have downloaded a standalone extension (plugin), follow these steps to integrate it into DewesoftX:
- Copy the files - Place the downloaded extension files into the Addons folder within your DewesoftX installation directory (e.g., C:\DewesoftX\Bin64\Addons64).
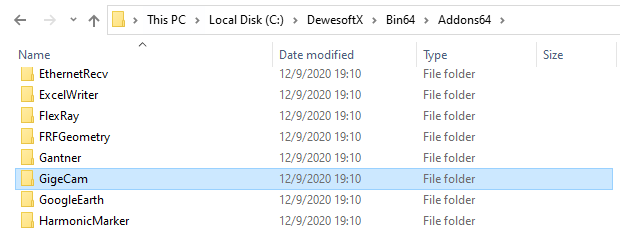
Restart DewesoftX - This is necessary for the software to recognize the new files.
Enable the extension
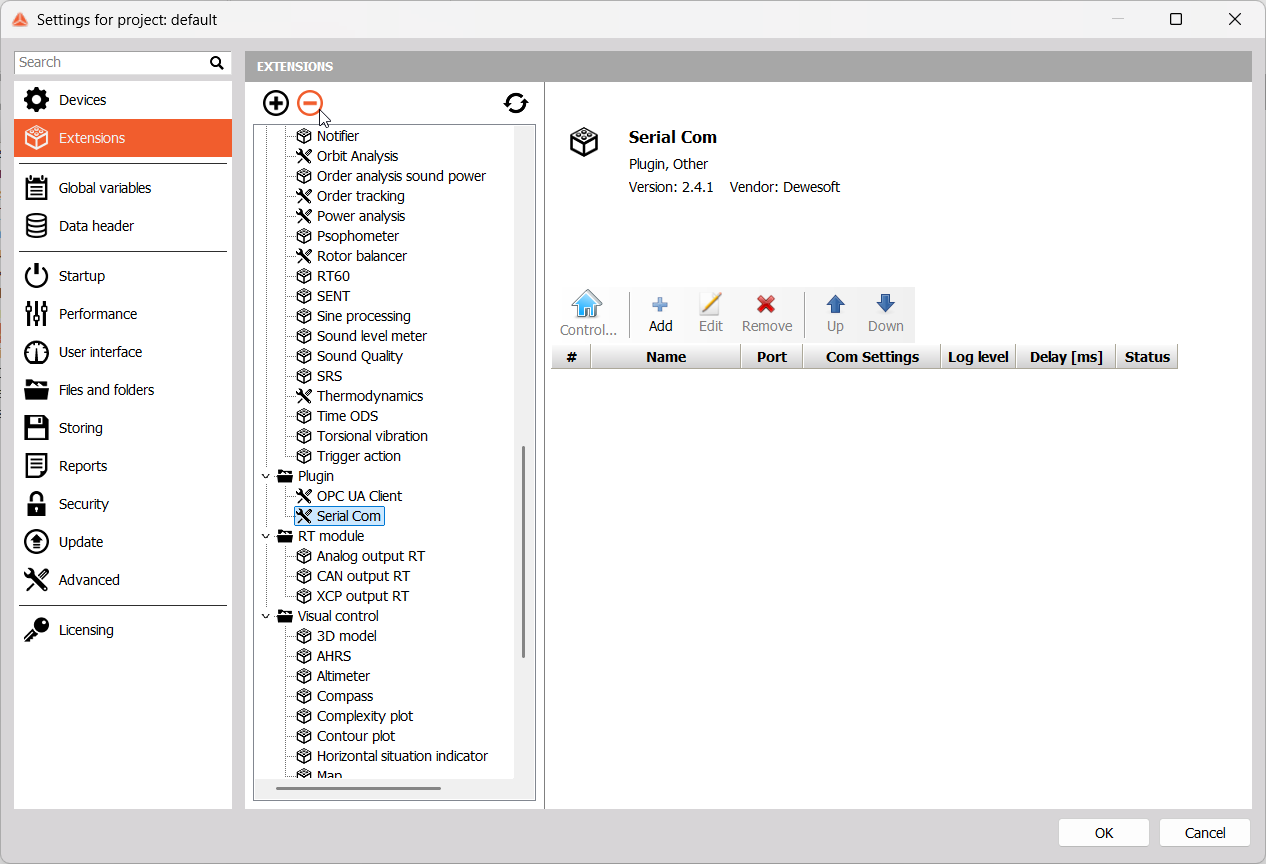
- Go to Options - Settings - Extensions. Click the + button.
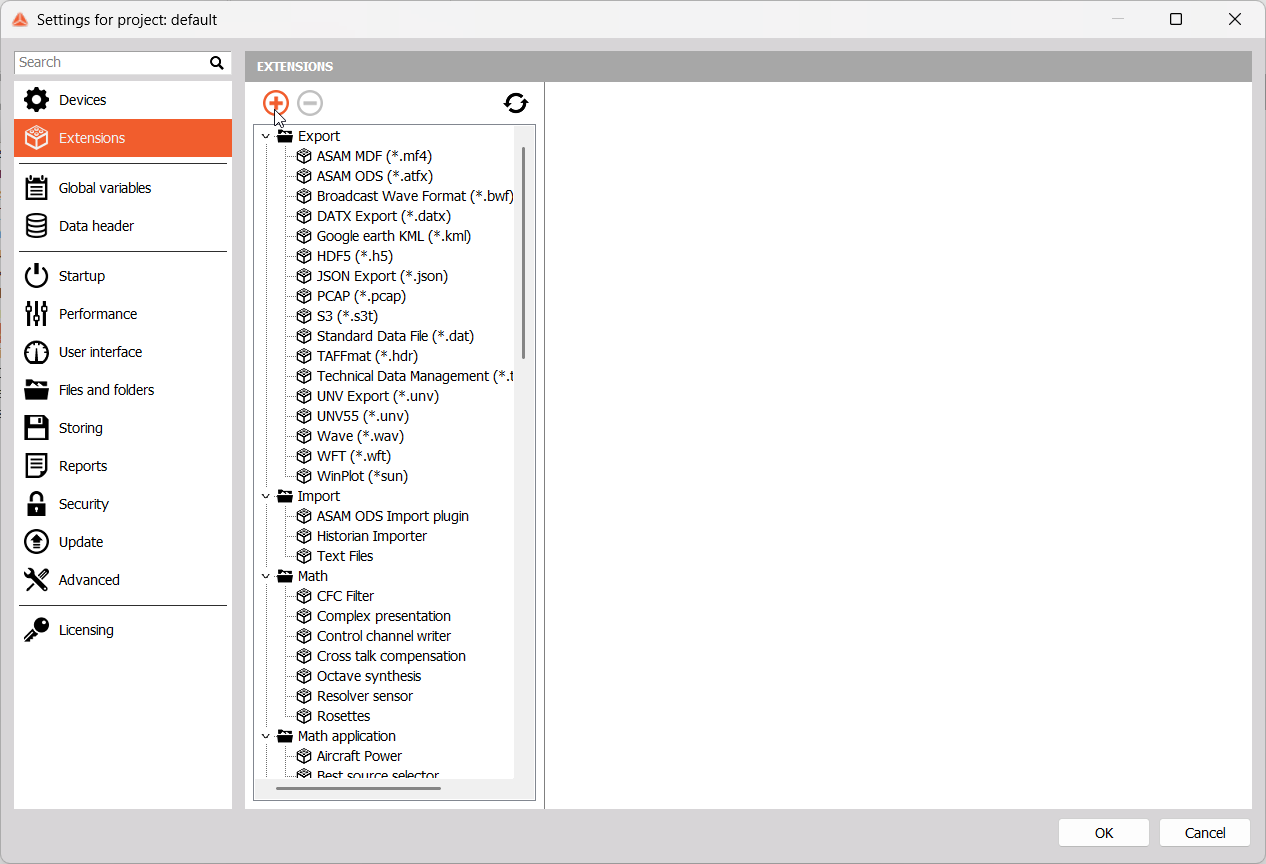
- You will see a list of available plugins. Find your extension and toggle it to Enable (or click the Enable button).
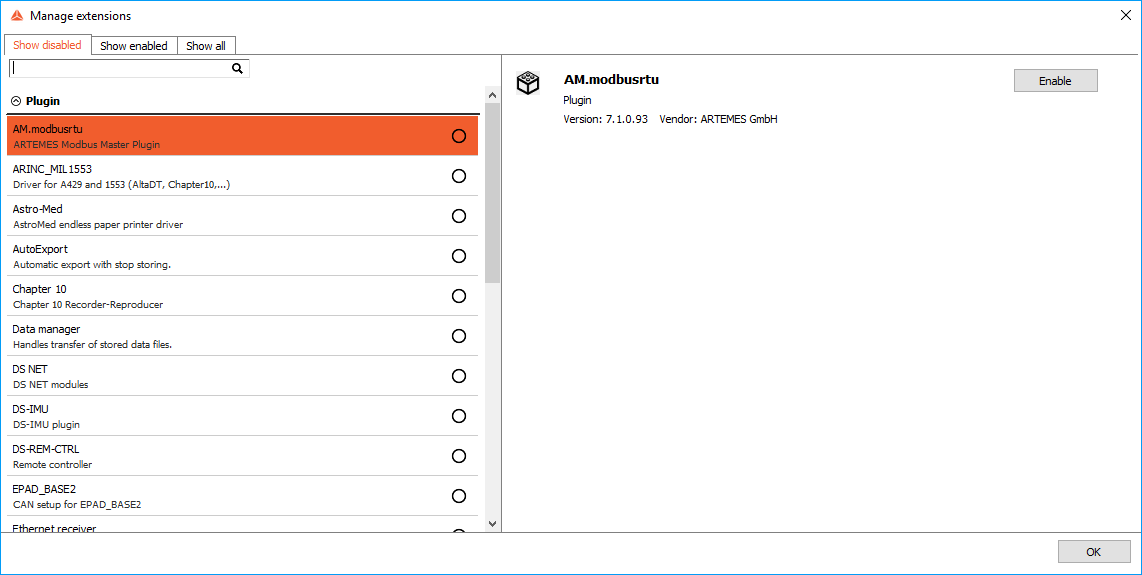
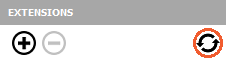
HINT: If a manually added plugin does not appear in the list, click the Refresh button and ensure the files are in the correct folder, then restart the software again.
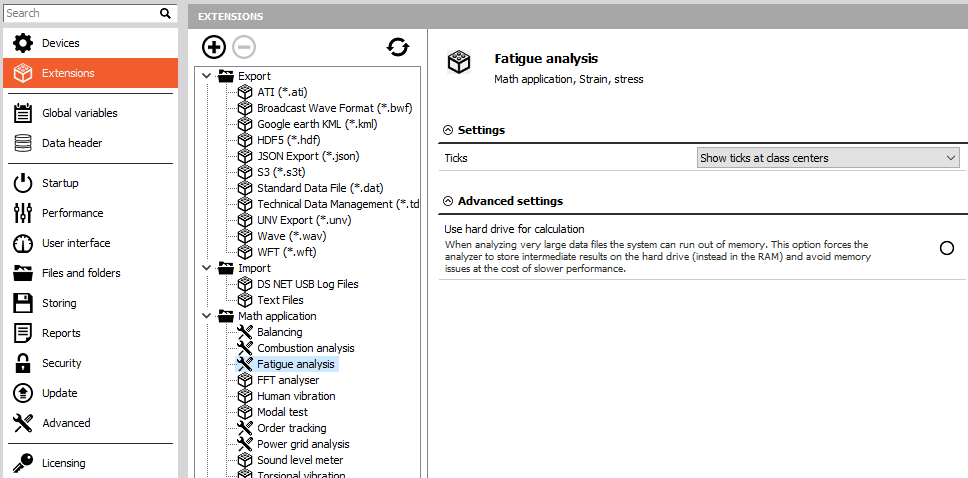
Once an extension is enabled, you can access its specific settings directly from the Extensions menu. To learn more about a particular plugin, please refer to its dedicated section in the manual.
NOTE: To add multiple extensions, repeat the manual process or re-run the installer to modify your current installation.
Remove an Extension
WARNING: Removing an extension will permanently delete all associated settings!
To remove an extension, go to Options - Settings - Extensions, select the one you wish to remove, and click the - button.