SOUND INTENSITY
Sound intensity module is a powerful tool for performing intensity based sound power ratings of devices under test in accordance with ISO 9614-1 and 9614-2 standards. The method offers unique advantages as power measurements can be done on site, no need for a designated environment. Furthermore, devices under test are not limited in size and the measurement method itself is simple and quick.
Besides ISO compliant sound power ratings, Sound Intensity plugin can be used for quick noise source location(Instantaneous SI mode) and more detailed rapid troubleshooting (Logged mode) when synced with a video input from a camera.
This F1 Help focuses on the setup of the module, for instructions on how to use each measurement mode refer to the user manual.
Setup
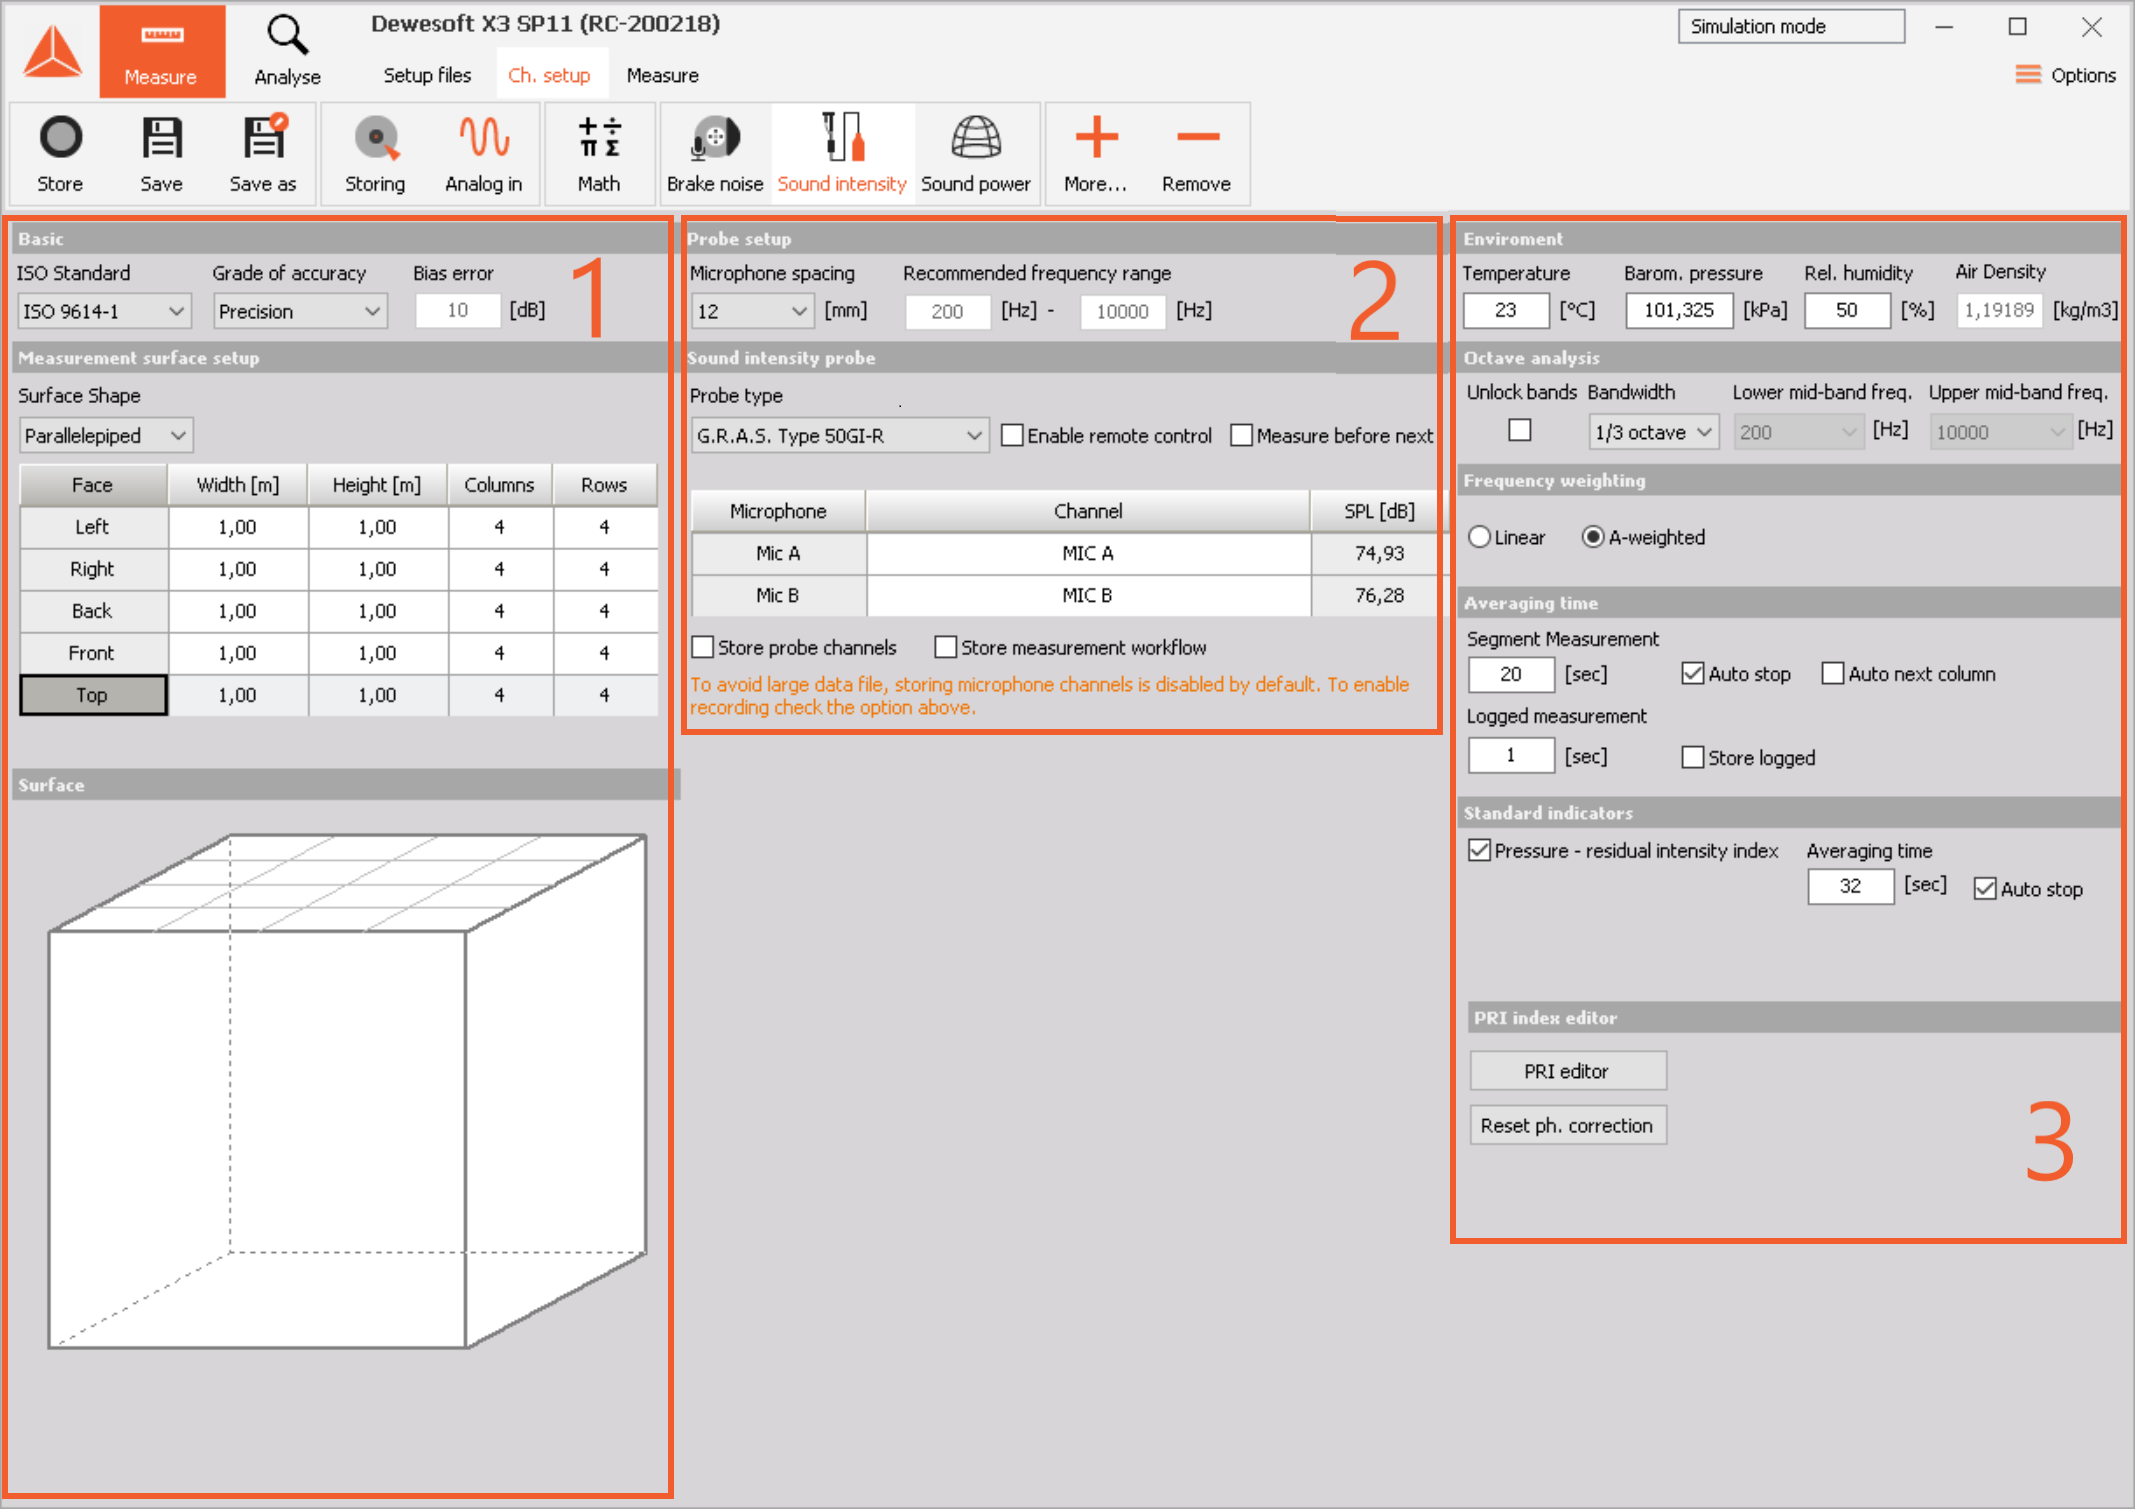
In the channel setup section of the sound intensity plugin different measurement parameters are set through a designated user interface. The settings are divided into three major sections:

Basic settings
Probe settings
Measurement settings
Basic
Supports standard procedures for sound power measurement according to ISO 9614-1 & 2. Depending on the selected standard on the dropdown, measurement method is different:
ISO 9614-1: Measurement at discrete points in the center of each segment on the defined grid. Offers three grades of accuracy: Precision, engineering and Survey. Offers higher accuracy but
ISO 9614-2: Measurement by scanning the surface. Offers
Measurement surface setup
Depending on the measurement task and type of device under test, different surface shapes are available for selection in the dropdown:
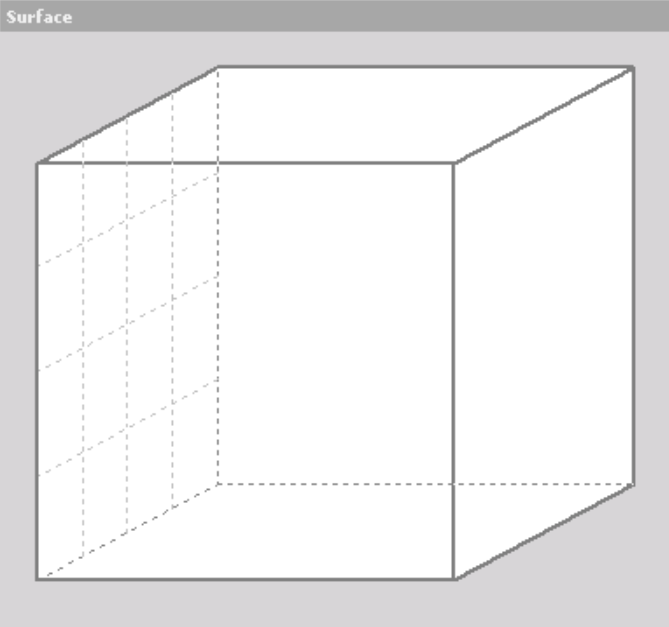
Parallelepiped is used to perform five surface noise mapping and sound power ratings of different devices under test. Sound power can be calculated by measuring the sound intensity over the entire enclosed service and knowing the area of the enclosed surface. Each of the five surfaces can have an individually defined number of segments, tailored to the unit under test. The higher the number, the better the resolution of the noise map on the individual surface.

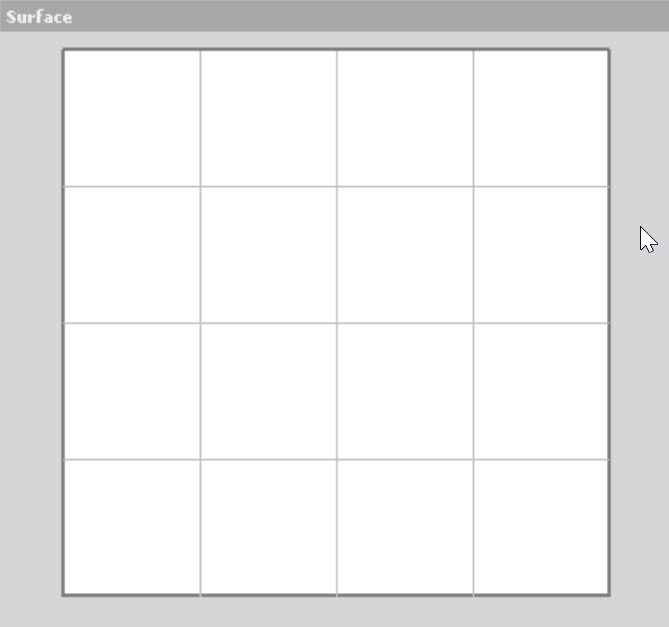
One side: A single measurement surface is used whenever trying to obtain a noise map of a single surface or when measuring sound power, emitted through this single surface. A common example would be the cooling vent on a larger structure, where noise is produced by the ventilator and is only propagated through a single outlet. The number of segments can be defined according to the desired resolution of the noise map. When measuring according to ISO 9614-2 sweep method, a single segment is defined for the entire surface.

Custom:In custom mode, any number of single surfaces can be defined. They are customizable with individual names and number of segments.
Probe setup
In Microphone spacing dropdown, different spacer dimensions can be selected for the intensity probe. According to the selected spacer dimension, software gives you the recommended frequency range of the measurement.
 There are five different spacer dimensions with different recommended frequency ranges:
100 mm: 30-1000 Hz
50 mm: 80-1500 Hz
25 mm: 120-5000Hz
12 mm: 200-10000Hz
6 mm: 1000-12000Hz*
*Used with a quarter inch microphone pair.
Sound intensity probe
Probe type dropdown enables selection of different intensity probes. By default, remote control functionality of the most common probes is supported; G.R.A.S. 50GI-R (supplied in our SI solution package) and B&K Type 3599.

Enable remote control- tick box enables the user to operate the measurement via the intensity probe’s remote. Before launching the measurement, a correct COM port needs to be assigned to the remote. This is done in: Options>Settings>Extensions>Sound intensity.
Measure before next- when selected, the software will prevent users from skipping any segments that were not measured. This way, they have to all be measured consecutively; each individual segment must have a measured value before moving to the next one.
In Microphone section of the channel setup, the correct analog inputs need to be assigned to MIC A and MIC B fields.

Store probe channels- When selected, the system will also store raw sound pressure signals from both of the microphones. This makes datafiles larger, but enables offline recalculation of sound intensity.
Store measurement workflow- Octave spectra for individual segments will be stored along with the history of averaging. By default, this checkbox is unchecked as system is configured for sound power ratings according to ISO 9614 where end result is one sound power spectrum for the entire surface(entire device under test)
Environment
For correct calculation of sound intensity and consequently sound power, correct environmental conditions should be entered in the setup under Environment section of channel setup. After entering the temperature, barometric pressure and relative humidity, the system will determine air density automatically.
Octave analysis
Here, the frequency limits of octave analysis are set. By default, they are linked to the recommended frequency range of the spacer in use. The frequency limit bands can be unlocked in order to calculate only in a certain frequency range or when using more than one spacer for the measurement. When two spacers are used, the frequency ranges should be configured with no overlap or skipped frequencies.

For example: first measurement with 100 mm spacer from 31,5 Hz to 1000 Hz and then the second measurement with 12 mm spacer from 1000 Hz to 10000 Hz. By simply adding the two results together, the entire range from 31,5 Hz to 10000 Hz has been covered.
Frequency weighting
Depending on the desired results, Linear or A frequency weightings can be selected. By default, A-weighting is selected as sound power ratings according to ISO 9614 are measured in dB(A).

Averaging time
When it comes to measuring an individual segment on our grid, the averaging duration can be manually controlled by clicking the Start/Stop button on the Measure screen or pressing the button on the probe’s remote. However, automatic averaging time can be defined to ensure repeatability of measurement conditions on each segment. This is achieved by selecting the Auto stop checkbox and inputting the desired averaging time in the Segment Measurement bracket .

This way acquisition of a segment needs to be initiated only and the system will stop it automatically after averaging for the user-selected amount of time.
Measurement procedure can be additionally automatized by selecting Auto next column checkbox. Now the system will move to the next column automatically and measure each segment for the selected amount of time.
Logged measurement mode enables toggling logged measurement mode on or off by selecting the Store logged checkbox. Next to the checkbox there is also a bracket for specifying the logged measurement interval. Logged measurement mode will log sound intensity values vs. time in this predefined interval and also store an intensity octave spectrum for each logged point. It is very powerful when used in conjunction with a video camera, enabling rapid evaluation of devices in terms of emitted noise and accurate control of probe’s position.
Standard indicators
When measuring according to ISO 9614 standards, there is a set of standard indicators that are used to evaluate the state of measurement equipment and also measurement environment. One of the most important indicators is the Pressure - residual intensity index that is used to describe the accuracy of the measurement system in terms of phase match. The better the phase match, the higher the PRI the more accurate are the results. By default, the PRI checkbox is selected and PRI measurement supported, but can be toggled off whenever not needed, according to the user’s preference. *
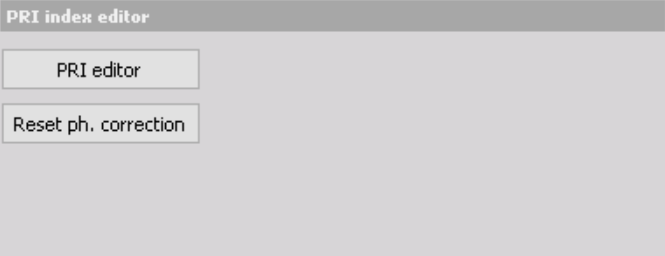
 Besides PRI being measured in phase calibrator before measurement, it can also be input via PRI editor.
 Reset ph correction - resets the values of phase correction, that can be carried out in Measure mode.
Additional instructions on how to measure PRI and perform a phase correction be found in the user manual.