Display Customization
Displays can be adapted to give you the optimal overview of your signals and measurements. To customize them, enter Design mode, add Widgets and change their appearance.
Design Mode
You can change the appearance of the display in Design mode. To enter it, press the Design button, Ctrl+D, or place a widget. The Design button will change colors.


Exit Design mode to regain full widget functionality. You can do so by pressing Design or Ctrl+D.
Widgets
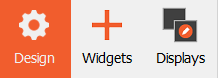
To add a widget, press the + Widgets button.
You can pick from your favorites or all available widgets. Use the Manage favorites tab to customize the Favorites list. You can also use the search box to find a specific widget.

Copy & Paste Widget(s)
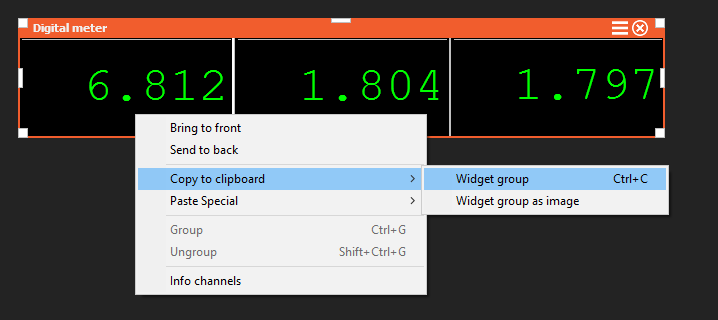
To copy, you need to be in Design mode. Right click the widget and select Copy to clipboard - Widget group. To paste, right click and select Paste.
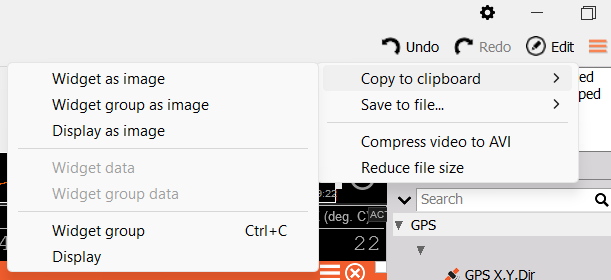
You can also Copy group to Clipboard from the Edit menu in the upper right corner.
Standard keyboard shortcuts Ctrl+C and Ctrl+V work as well.
Copy Widget Properties
For two widgets of the same type, you can copy the properties of one to another. In Design mode, right click on the source widget and select Copy to clipboard - Widget group or use Ctrl + C. Right click the target widget and select Paste Special - Widget properties.
Delete Widgets
Click a widget to select it and press the Delete button on your keyboard. To bring the widget back, click the Undo button in the top right corner of DewesoftX.
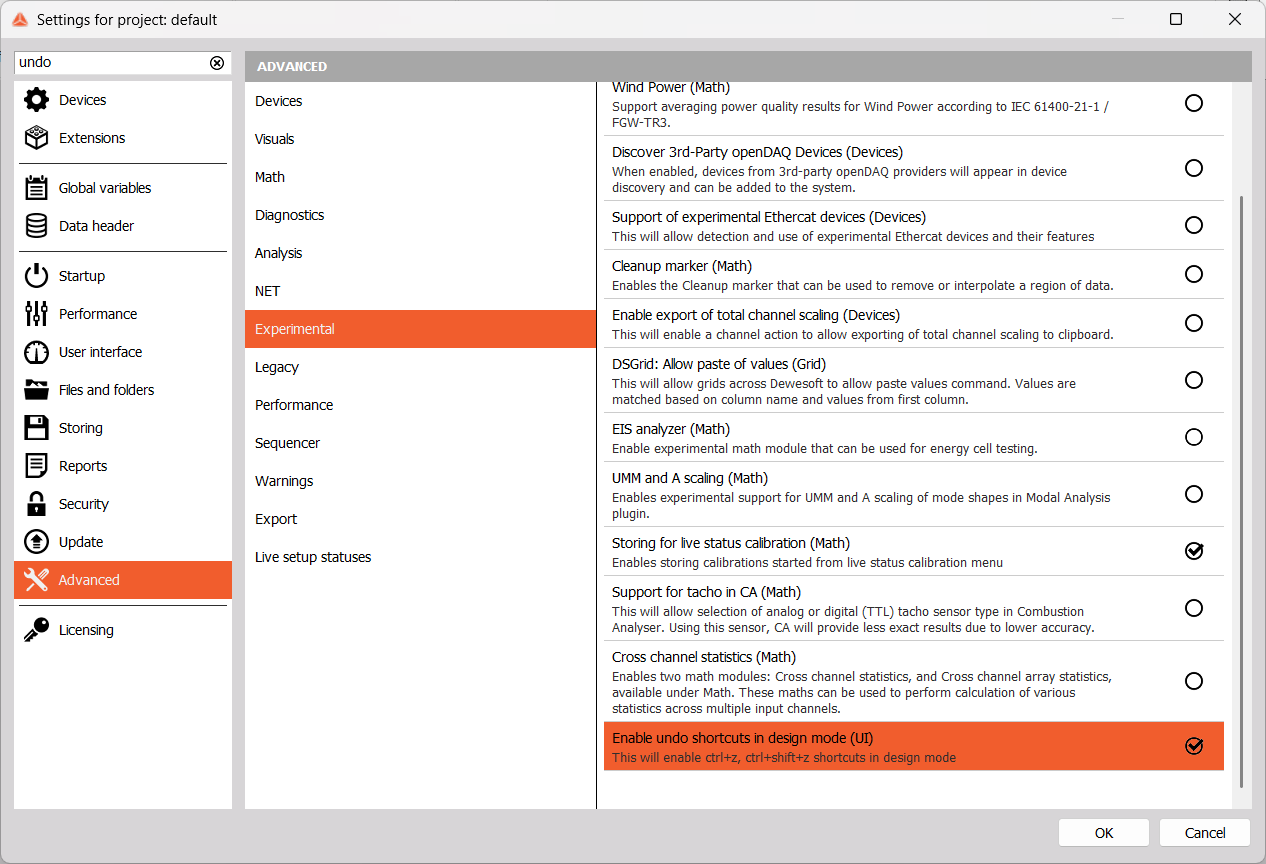
NOTE: The standard keyboard shortcut Ctrl+Z is an experimental feature and needs to be enabled in Advanced settings first.
Widget Groups
You can select multiple different widgets at once and create a group. The entire widget group can be manipulated like a single widget.
WARNING: When one widget in a group is selected, the WHOLE group will be deleted!
Assign Channels
Channels will be automatically assigned to a new widget. You can reassign channels by clicking on the widget to select it, and then clicking on channels in the Channels tab to either assign or unassign them. Some widgets, like the Recorder or Scope, allow multiple channels assigned to one graph. One channel can be assigned to multiple widgets.
Please refer to the Channel selector section of the manual for more information.
Channel Order
When multiple channels are assigned to a widget with an axis (e.g. Recorder, 2D Graph), the last chosen channel is displayed in front. To change the channel order, click and drag channels.
Widget Appearance
Besides changing functional properties of widgets, such as assigned channels, you can also change their appearance by changing:
Position
When in Design mode, click on a widget to select it. You can move it if you:
- Drag and drop the widget
- Use the arrow keys to move the widget
TIP: Use the Shift key with the arrow keys to increase moving speed.
Design mode will automatically help you align widgets. When you are dragging a widget, it will snap into aligned positions, depending on the widgets around it. White grid lines will also guide you.
Size
After entering Design mode and selecting a widget, you will see eight white points on the orange frame. Use them to adjust widget size.
Order
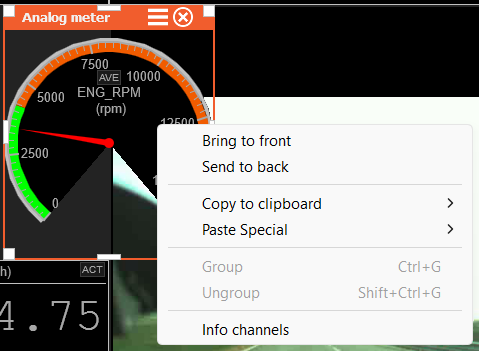
If a widget overlaps another one, you can bring it to front or send it to back by right clicking and then selecting Bring to front or Send to back.
Transparency
You can adjust the transparency of each widget individually. You can select Off, 25%, 50%, 75% or 100% transparency from the dropdown list to the left, in Control properties.
![]()
Example - digital meter’s transparency set to 75%: