Data Header
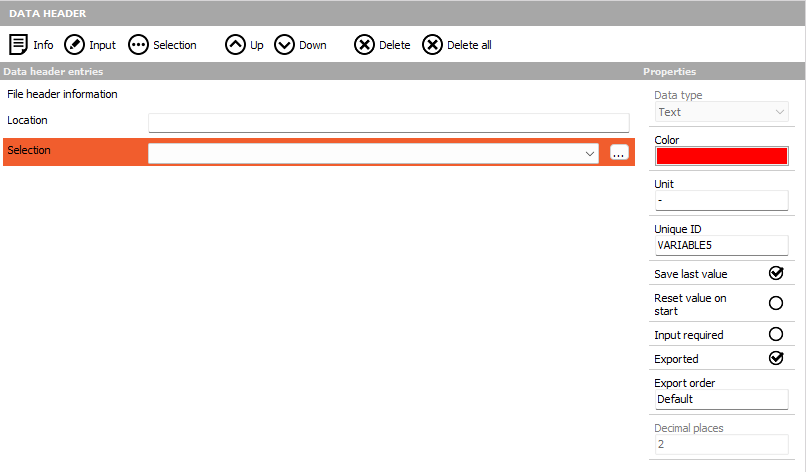
The Data header section of Settings allows you to define input fields in which operators can enter additional, not measured, parameters at the beginning and/or end of the measurement.
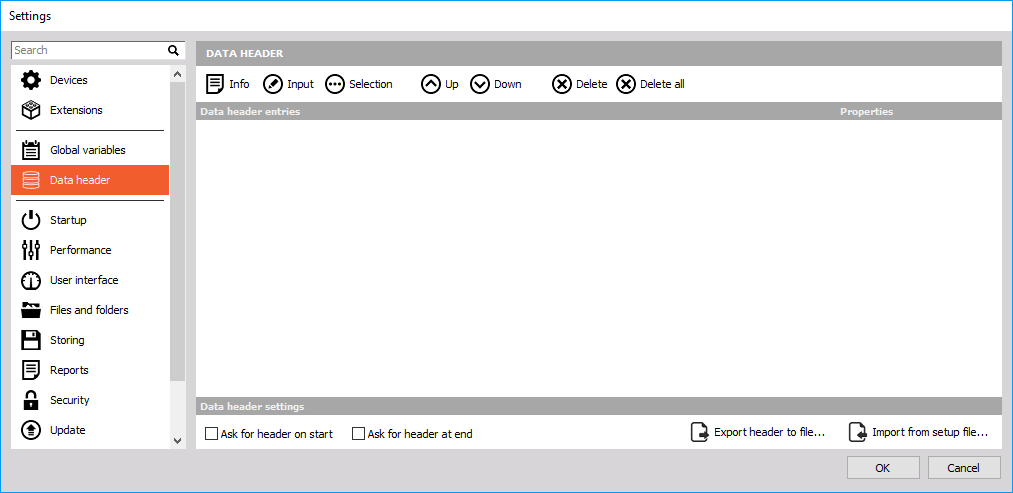
To add a data header, click on one of the data header type icons. There are three types of data headers:
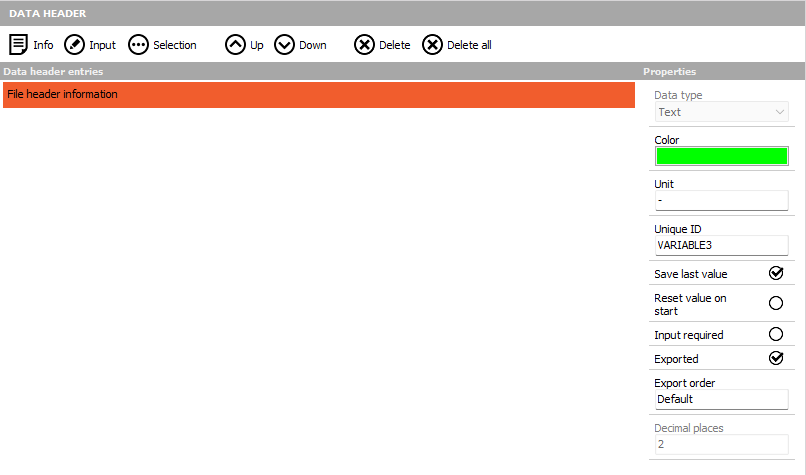
- Info - adds a header with text. Click on it in order to edit it.
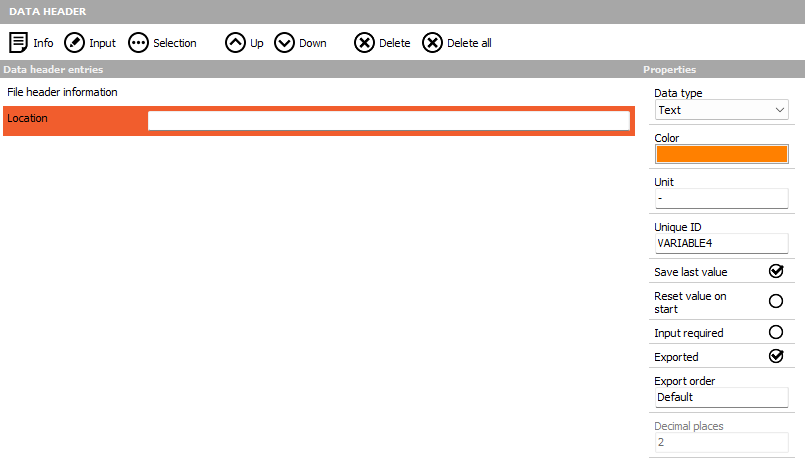
- Input - The Input field can be used for single line values or comments, e.g. location information. Rename it by clicking on the name (for example, to ‘Location’). Choose what type of data will be entered on the right - Text, Float, Integer.
- Selection - Create a dropdown list of values, for example, a list of users or a list of departments in your company. Clicking on the title will allow you to change it.
To define contents of the list, press … on the right side and a Create selection list window will appear. Enter the desired text in the New item field and press the Add item button. You can also Move items up/down and Remove them.
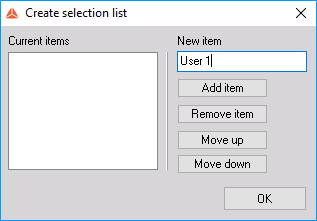 The name will appear on the Current items list on the left side.
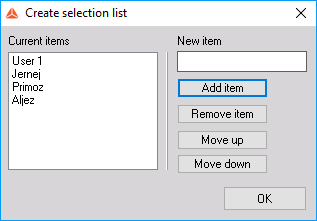
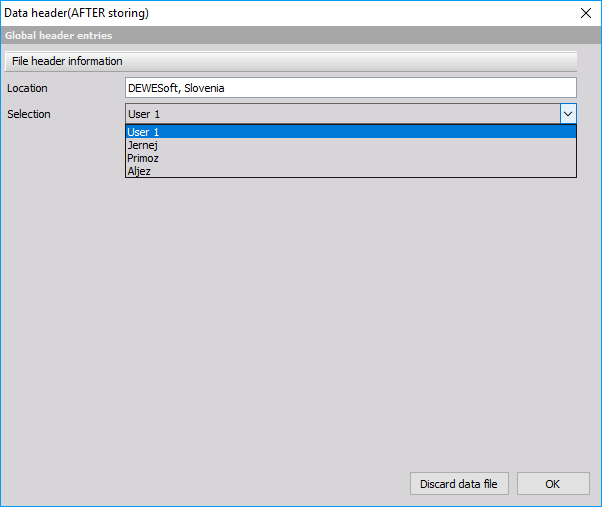
Enter as many items as required. You can also edit items directly in the list by selecting them. Press the OK button to save the list or Cancel to reject all entries. The result of items in the picture above is the following drop-down list in the Data header window:

You can change the order of headers by clicking on a header to select it (it will turn orange) and using the Up and Down buttons.
You can either Delete the selected header or Delete all.
Below the header list, you can select when to ask for header:
- Ask for header on start will trigger a pop-up with all entries before the start of storing.
- Ask for header at end will open the same pop-up window when the measurement is stopped.

Using the example headers above and selecting Ask for header at end will result in the following window once storing is done: